Browsing Tag:

diy

DIY Choker tutorial

Posted in Fashion
on 11/04/2016

Chokers are currently my go-to accessory for any outfit. I love the simplicity of them + the edgy vibe they have. Prices can range for chokers, depending on what you’re getting. Making chokers is such a fun little DIY + not to mention — it’s super cheap! Let’s get into it, y’all….

dii-choker-lgip

You’ll need…

Ribbon (pick whatever your heart desires — velvet, sparkly, faux snakeskin, lace (the options are endless))

A few inches of chain (gold or silver)

Jump rings (gold or silver to match your chain)

Ribbon crimps (to match chain and jump rings)

Clasps (to match all of the above)

Scissors

Pliers

dii-choker-lgip dii-choker-lgip

The easiest DIY you’ll ever do…

Alright, alright, alright — here we go! First step is to take your ribbon and cut it to size for your neck. You’ll want to make it about a 1/2 inch shorter so you can hook it on the chain and not have it be too big. Take your ribbon crimps, put one on each side of the ribbon and use your pliers to close it onto your ribbon. With jump rings, take your chain and attach it to one ribbon crimp + then attach your clasp to the other (honestly this is the hardest part). *cue the oohs and aaahhhs* You’re done!

dii-choker-lgip

See? I told y’all this is the easiest DIY you’ll ever do. Now go out there and wear that choker with some pride! When people ask you where you got it, you can proudly tell them “I made this with my own two hands” *hair flip*

If any of y’all try this out, please send me pictures of your finished product! I would love to see it!

Until next time….

madison-bronze-foil


How to create the perfect Big Little Week | LGIP Blabbers

Posted in Lifestyle
on 09/28/2016

IMG_8987-editedIMG_8975-editedIMG_8989-editedIMG_8978-editedIMG_8990-editedIMG_8993-editedIMG_8994-editedSo…. I’m now a big!! Last week was so stressful (leading to no blog post) but I wouldn’t change a thing. Creating a lifelong friendship with my littles is going to be the most rewarding thing! To break things down, I’ll go through a bit of what I ended up giving my little bits each day. Hopefully this can help y’all if you are going through Big Little week!

DAY ONE 

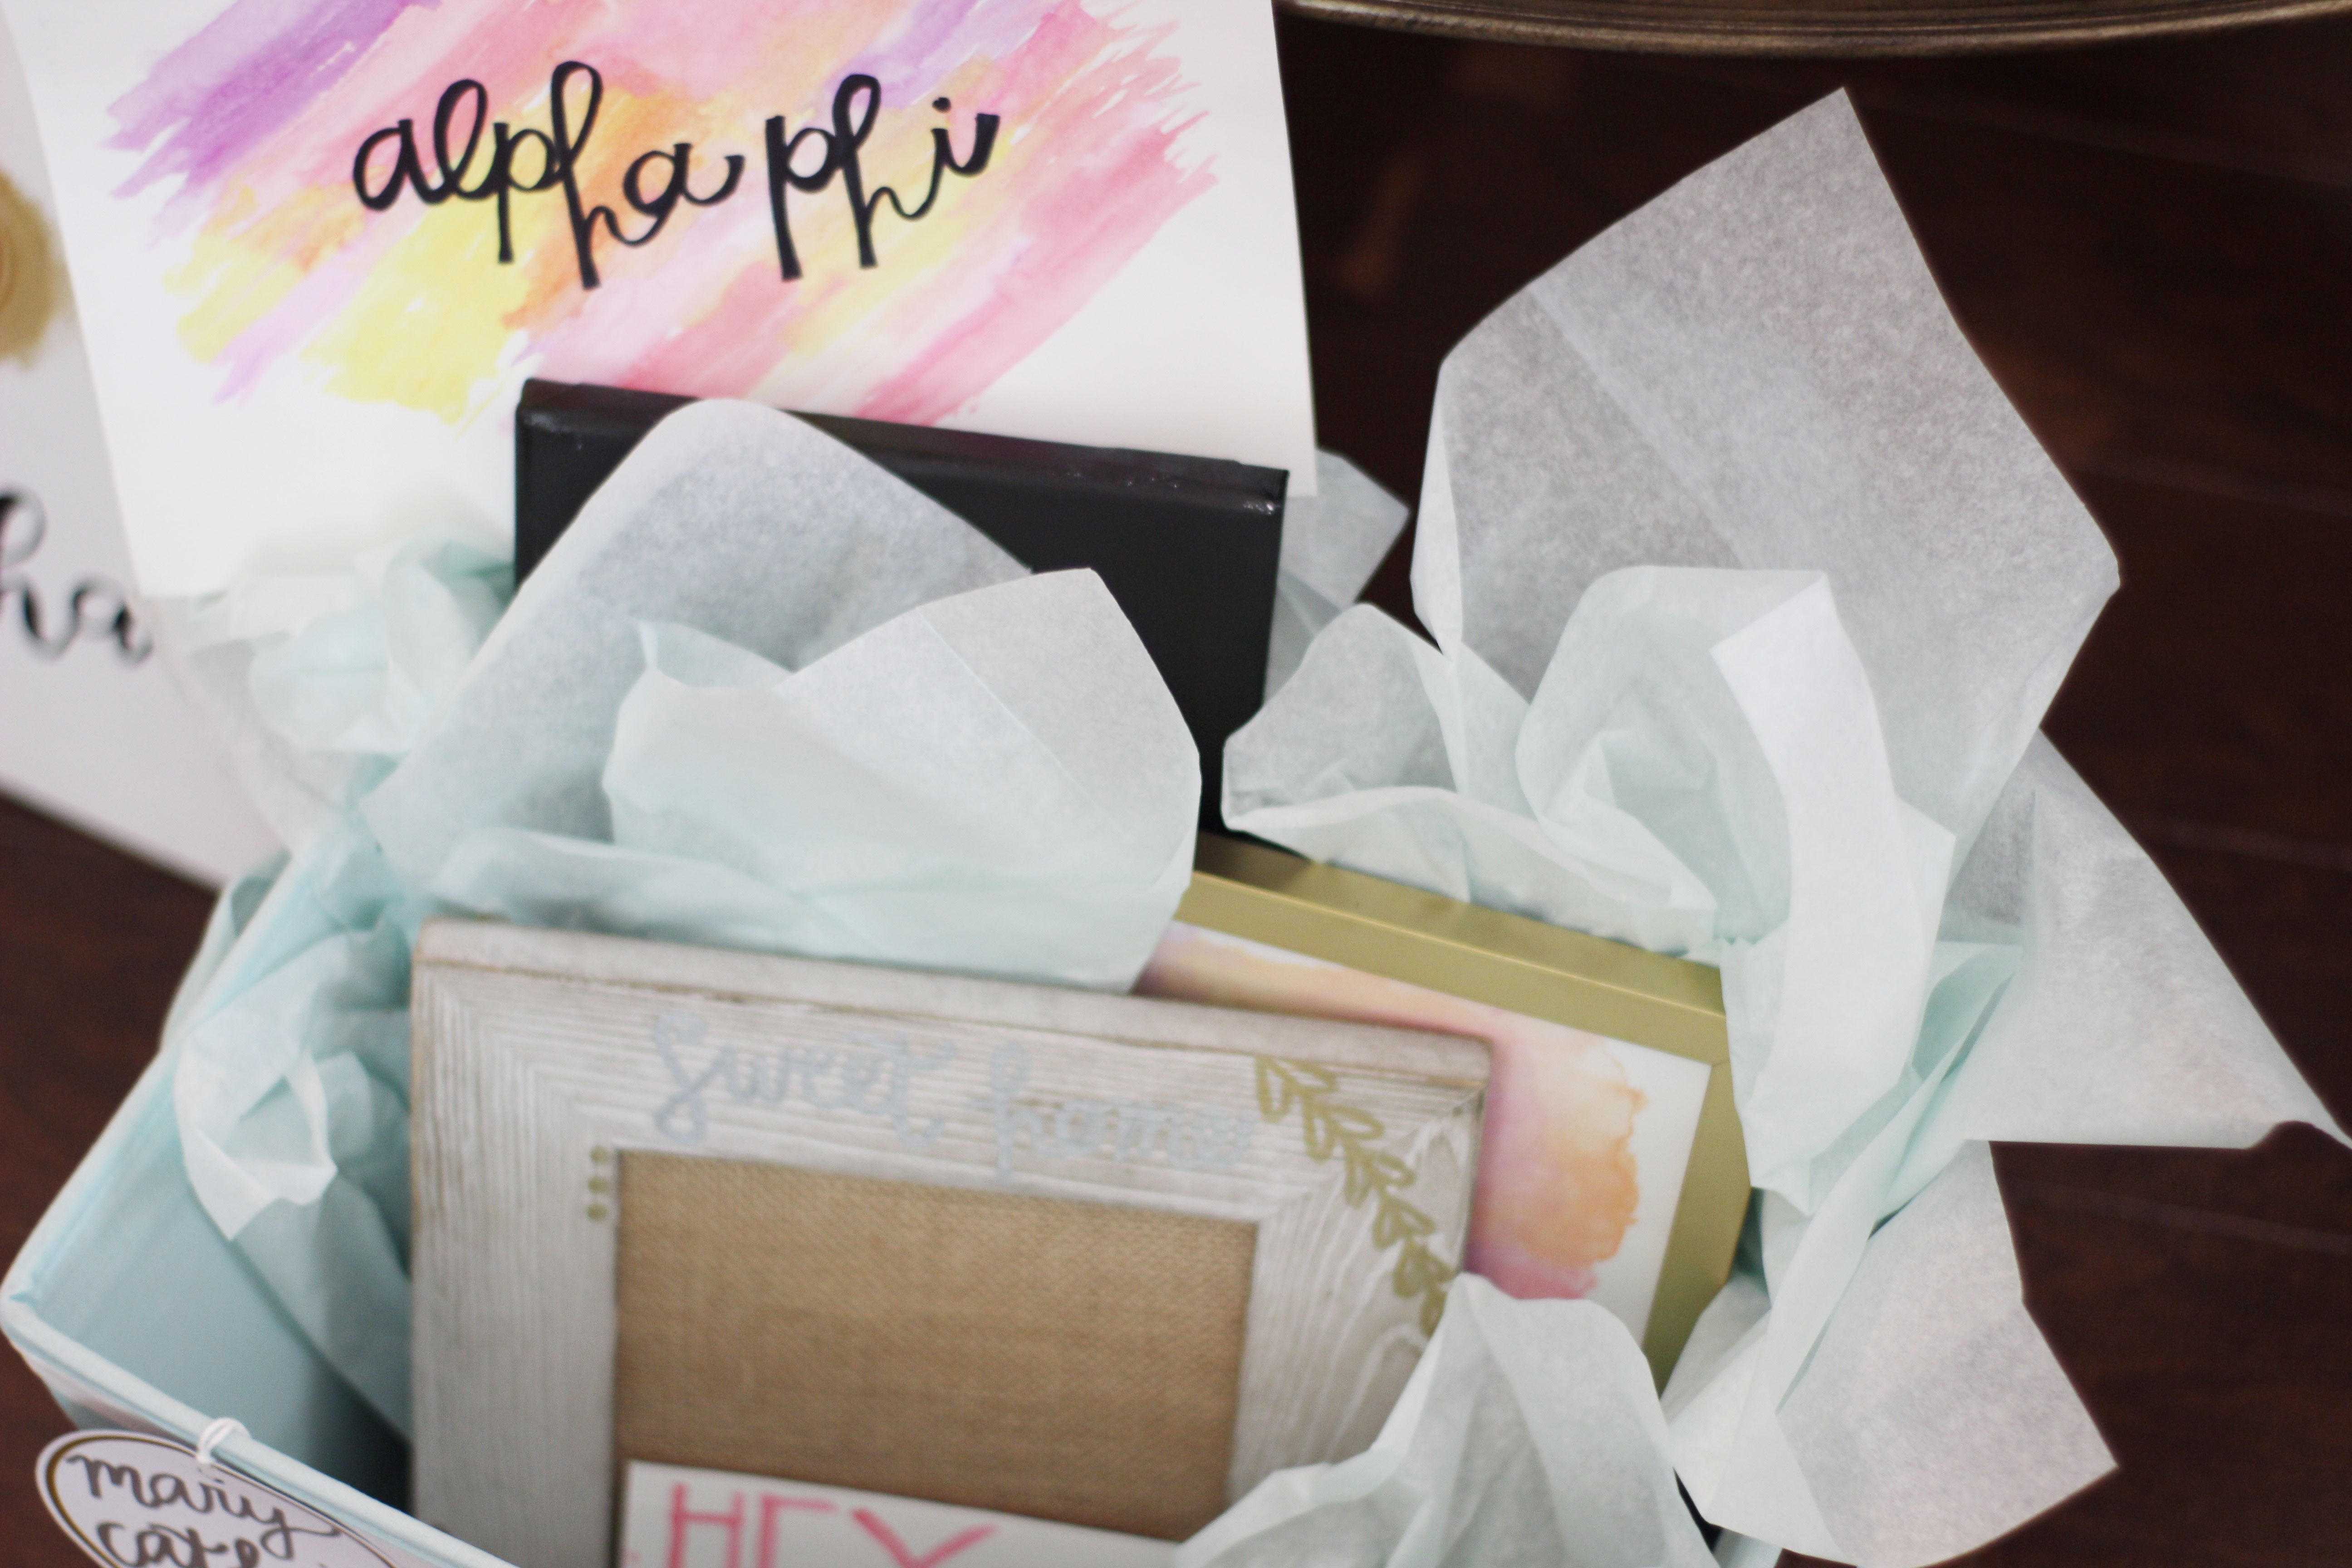
The first themed day was paintings. I had been scrolling through Pinterest since I joined last year, repining an assortment of crafts to make for my littles. Most of the paintings I saw were cheesy, and had bright colors and cheeky phrases on them. We all know that paintings of that sort aren’t going to be displayed for long, considering they don’t match much. My goal for the paintings day was essentially to create a few basic things that would go with any sort of color scheme or room.

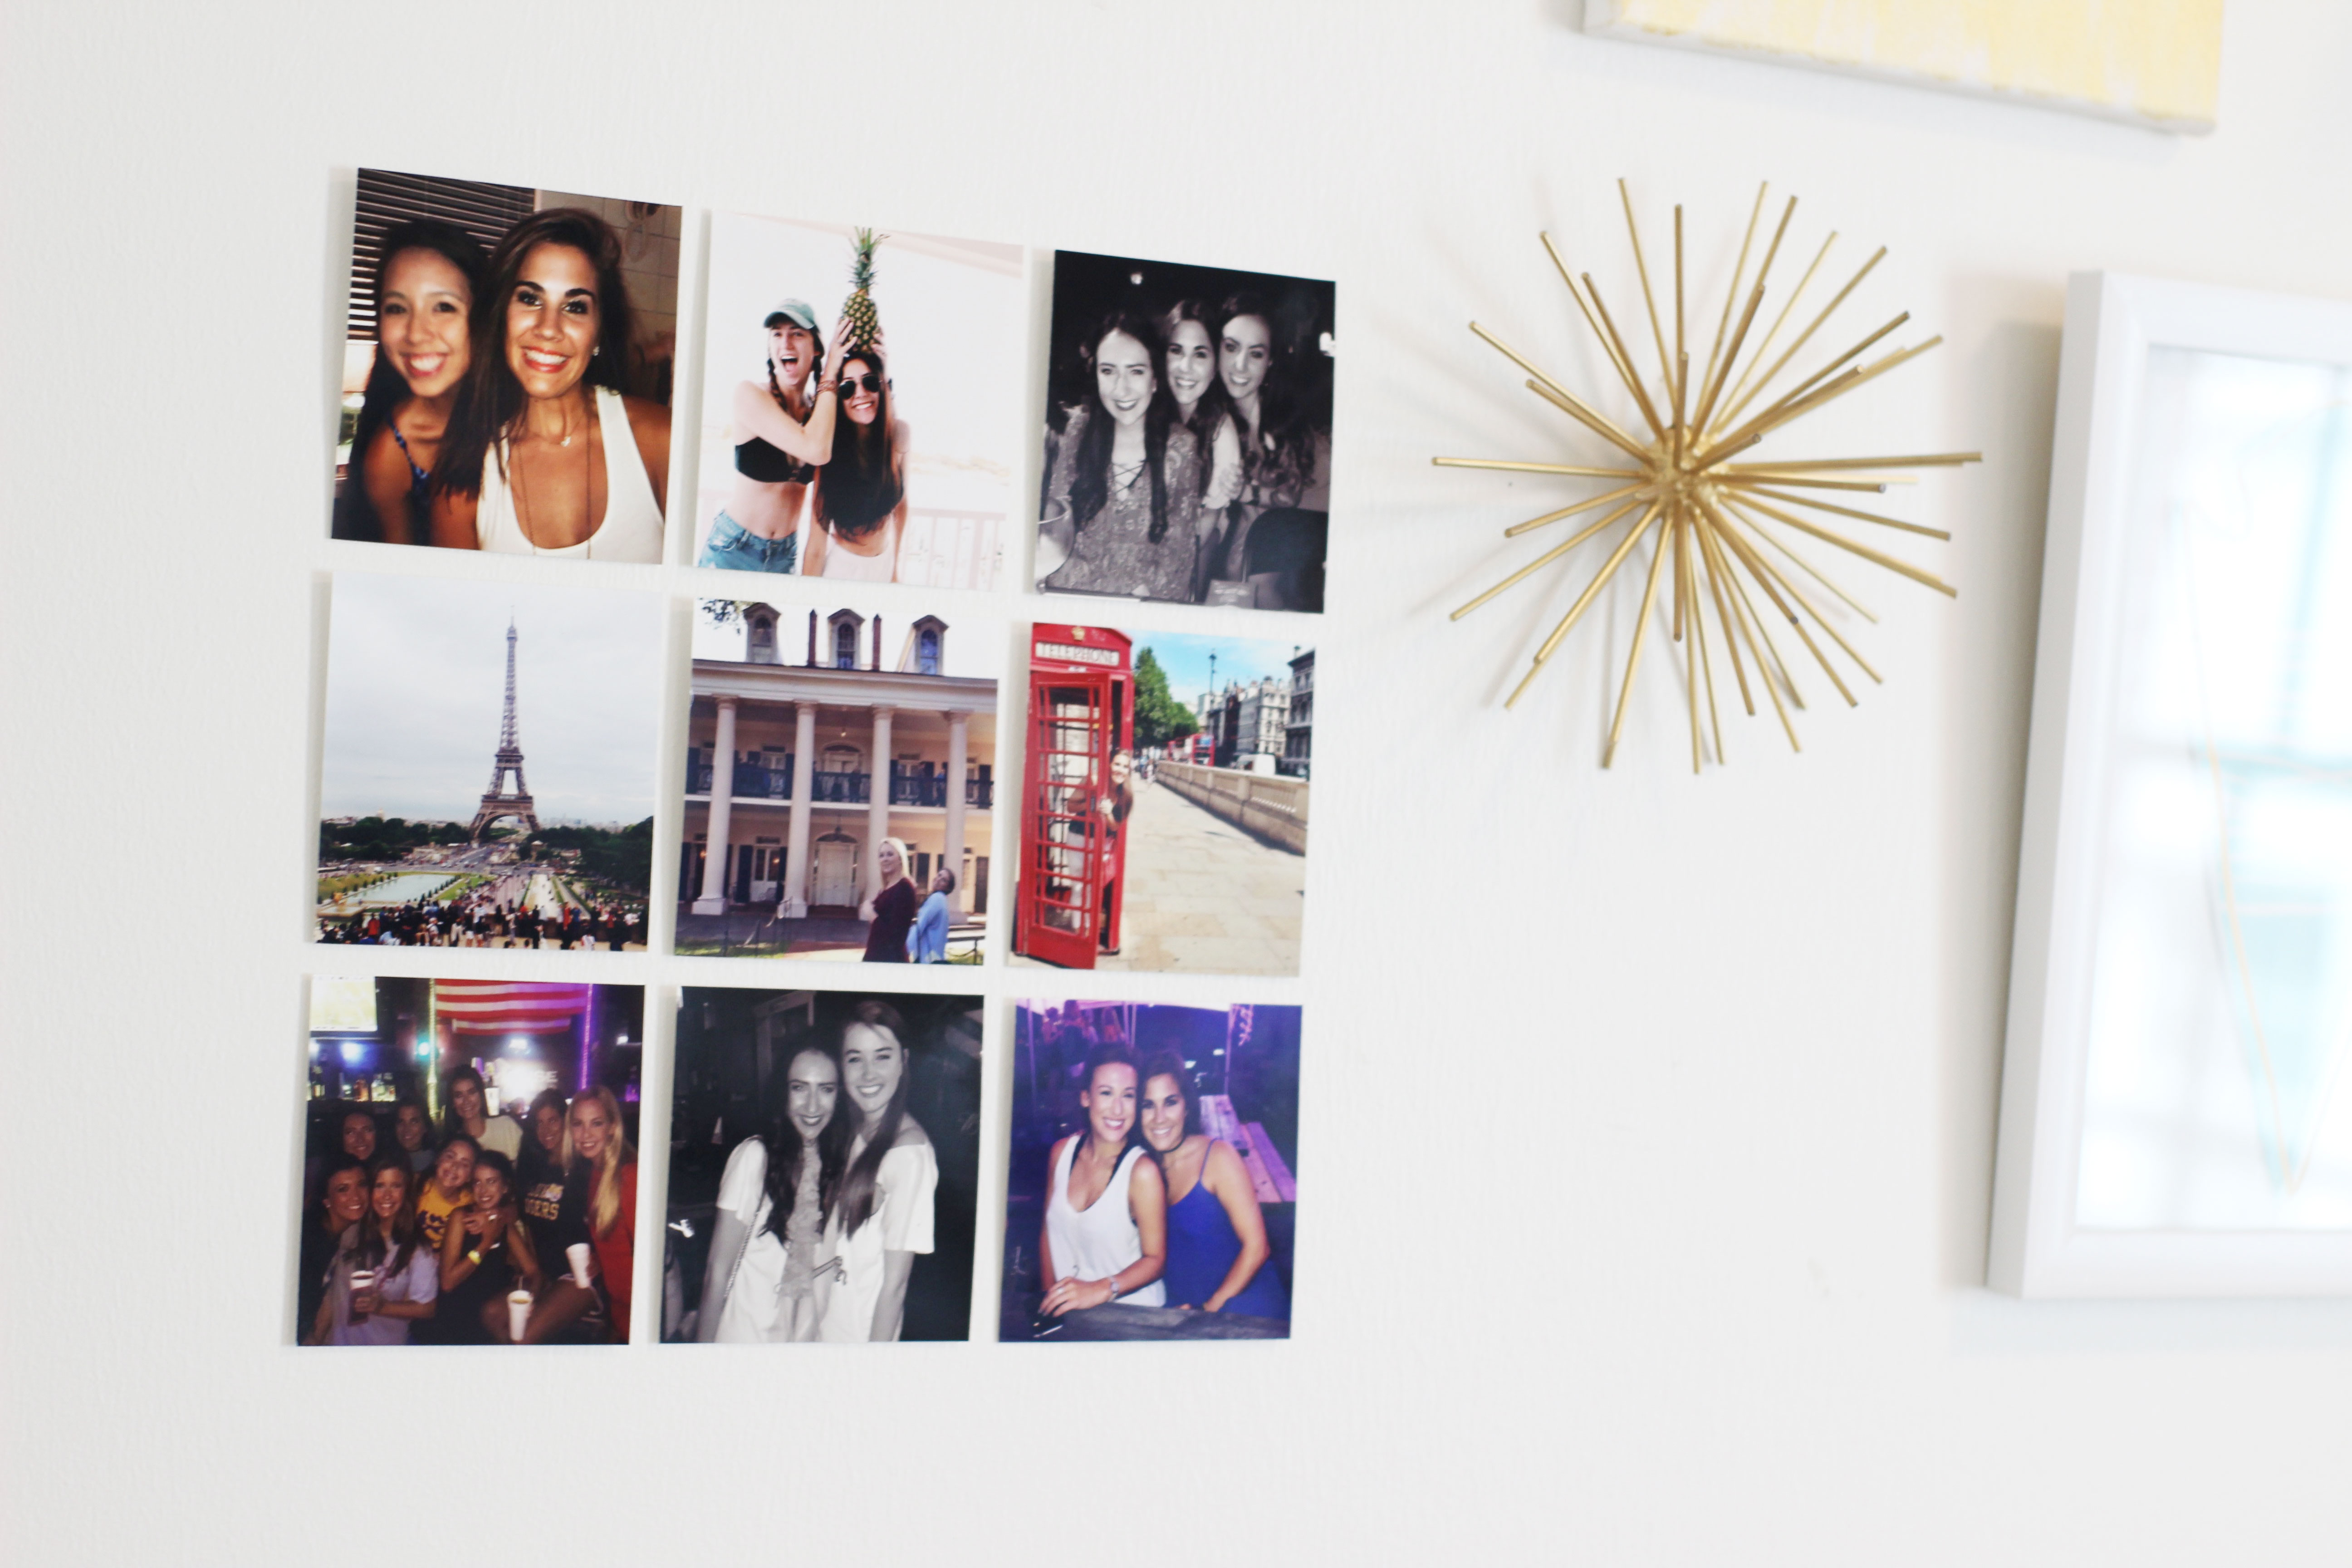
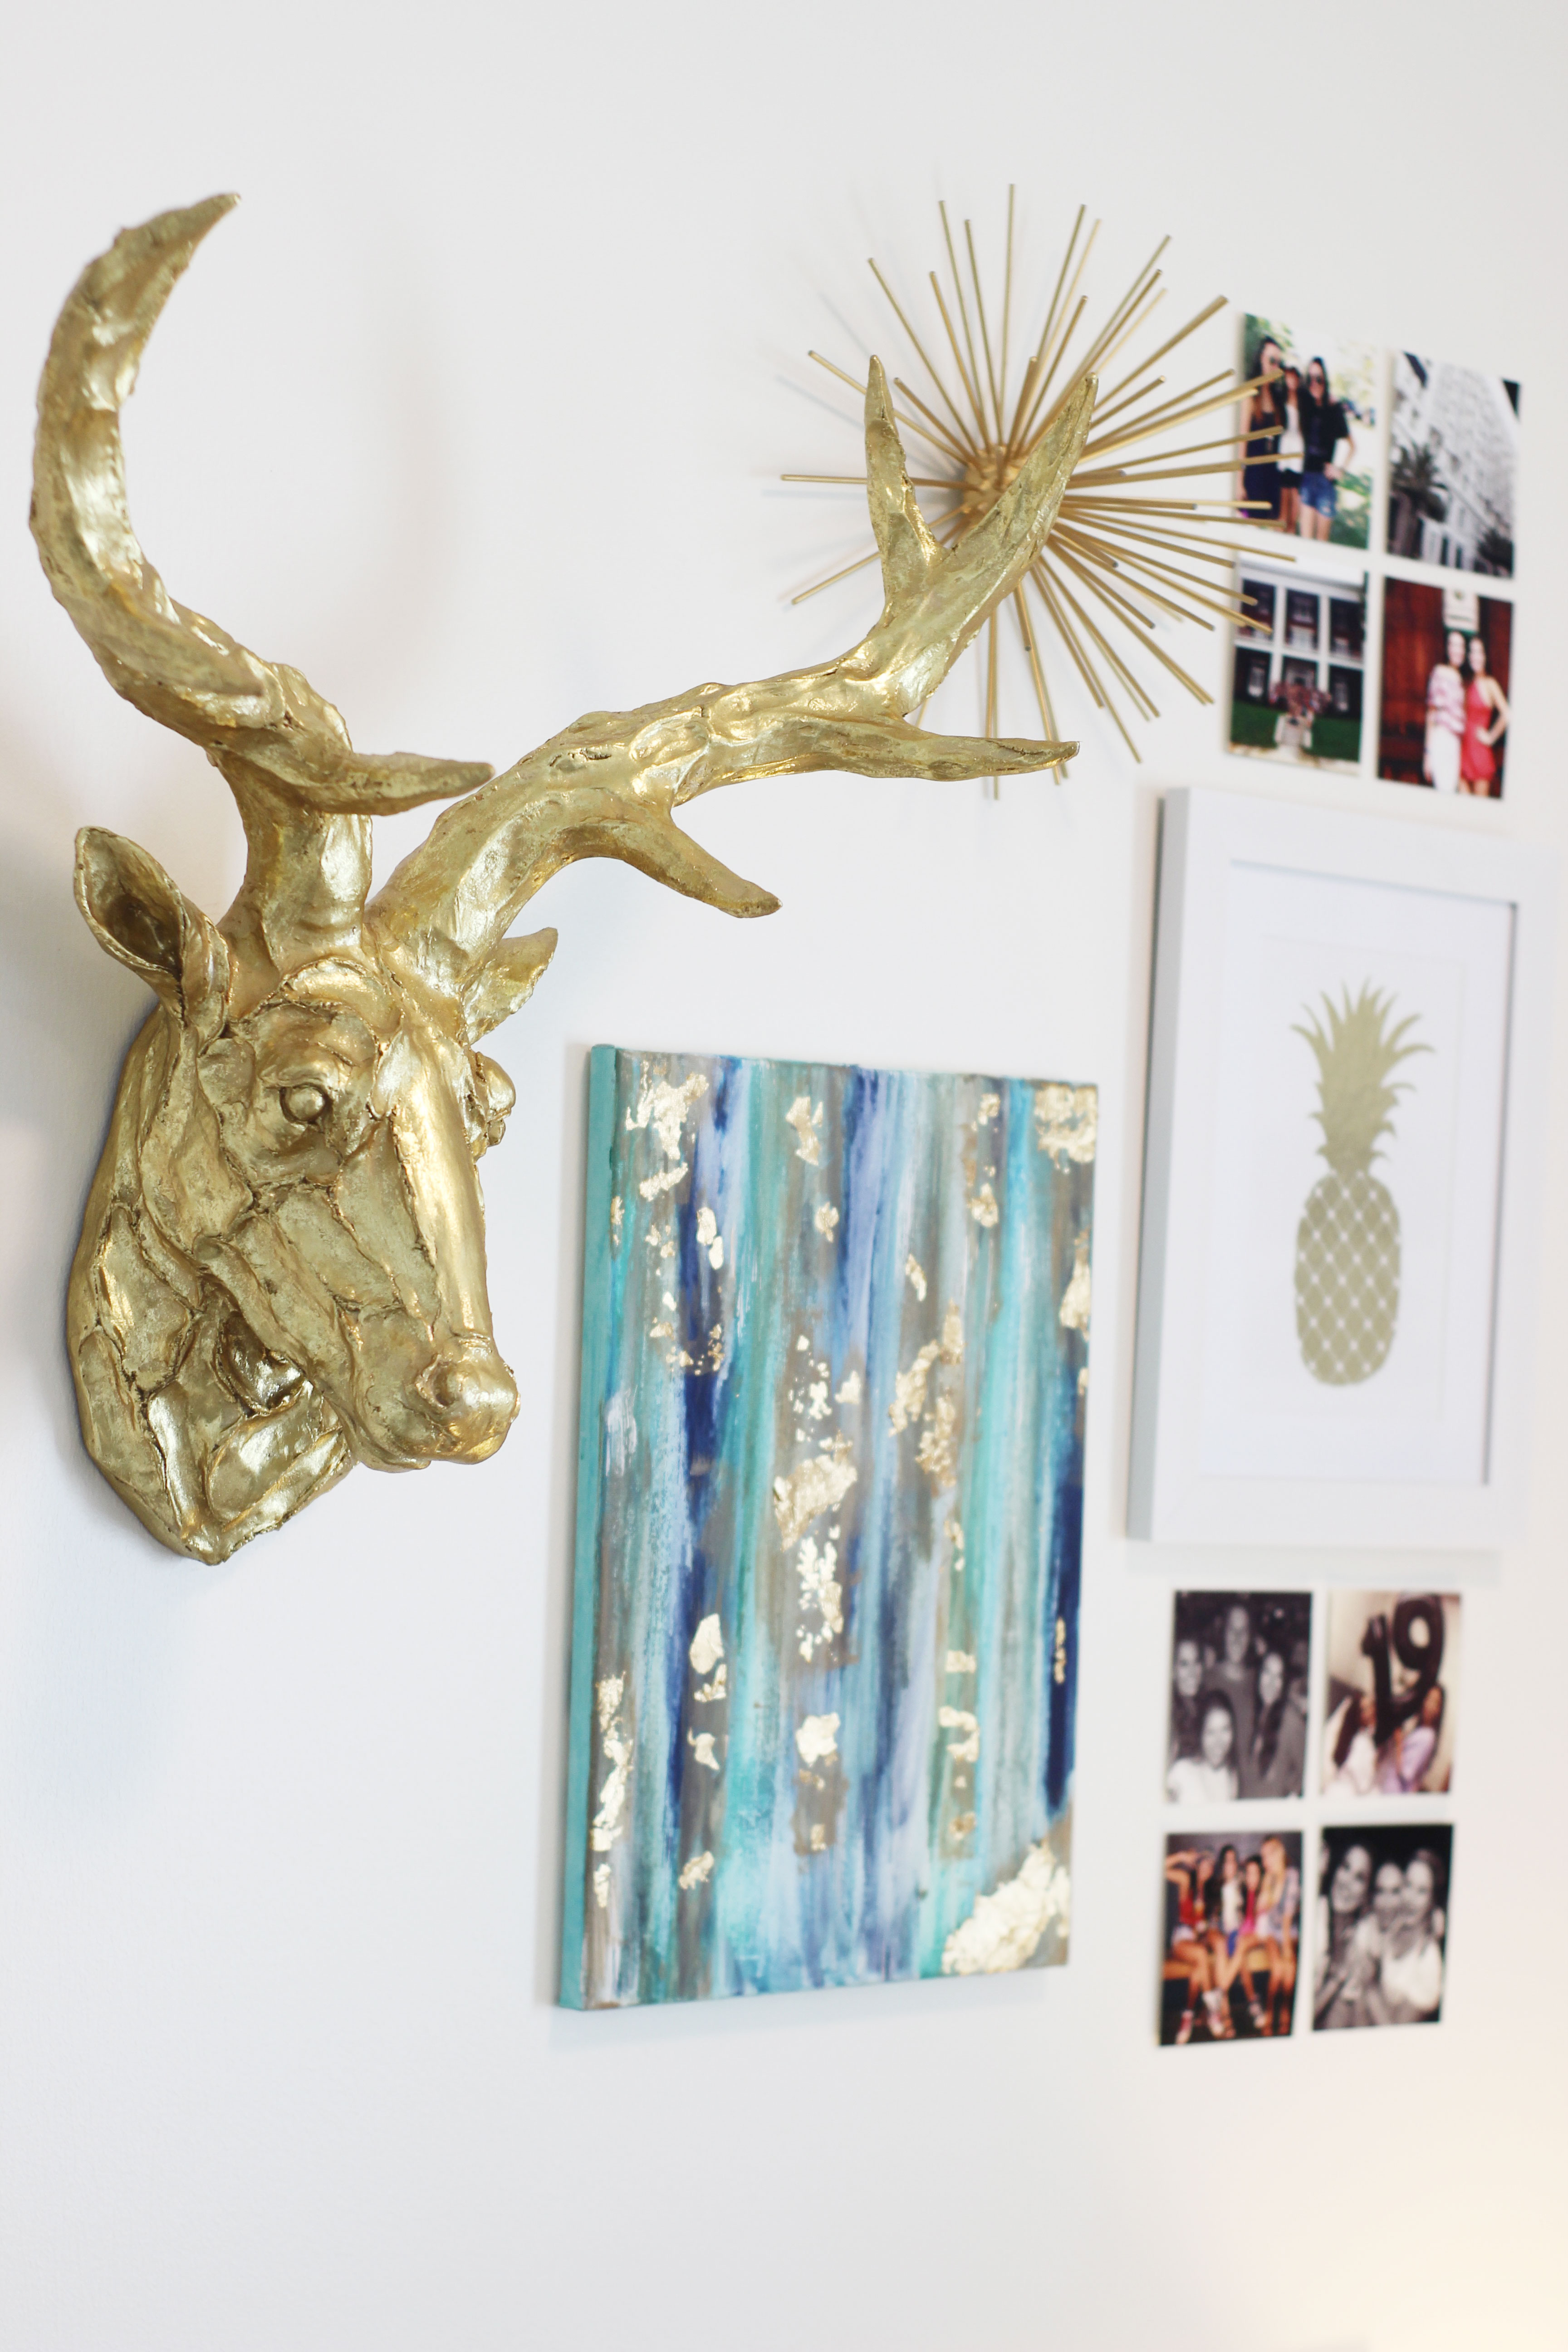
Sticking to a warm/cool color scheme (each little liked something different), I made some watercolor prints on card stock. This was honestly one of the most simple crafts I had ever done, and super relaxing too. Water color and card stock can be purchased anywhere (for cheap), so this did not break the bank! I made two watercolor prints for each of my littles by simply free handing the background and the wording. To dress things up, I framed one print in a frame from Hobby Lobby (only my favorite store ever) that I spray painted gold and left the other one not framed.

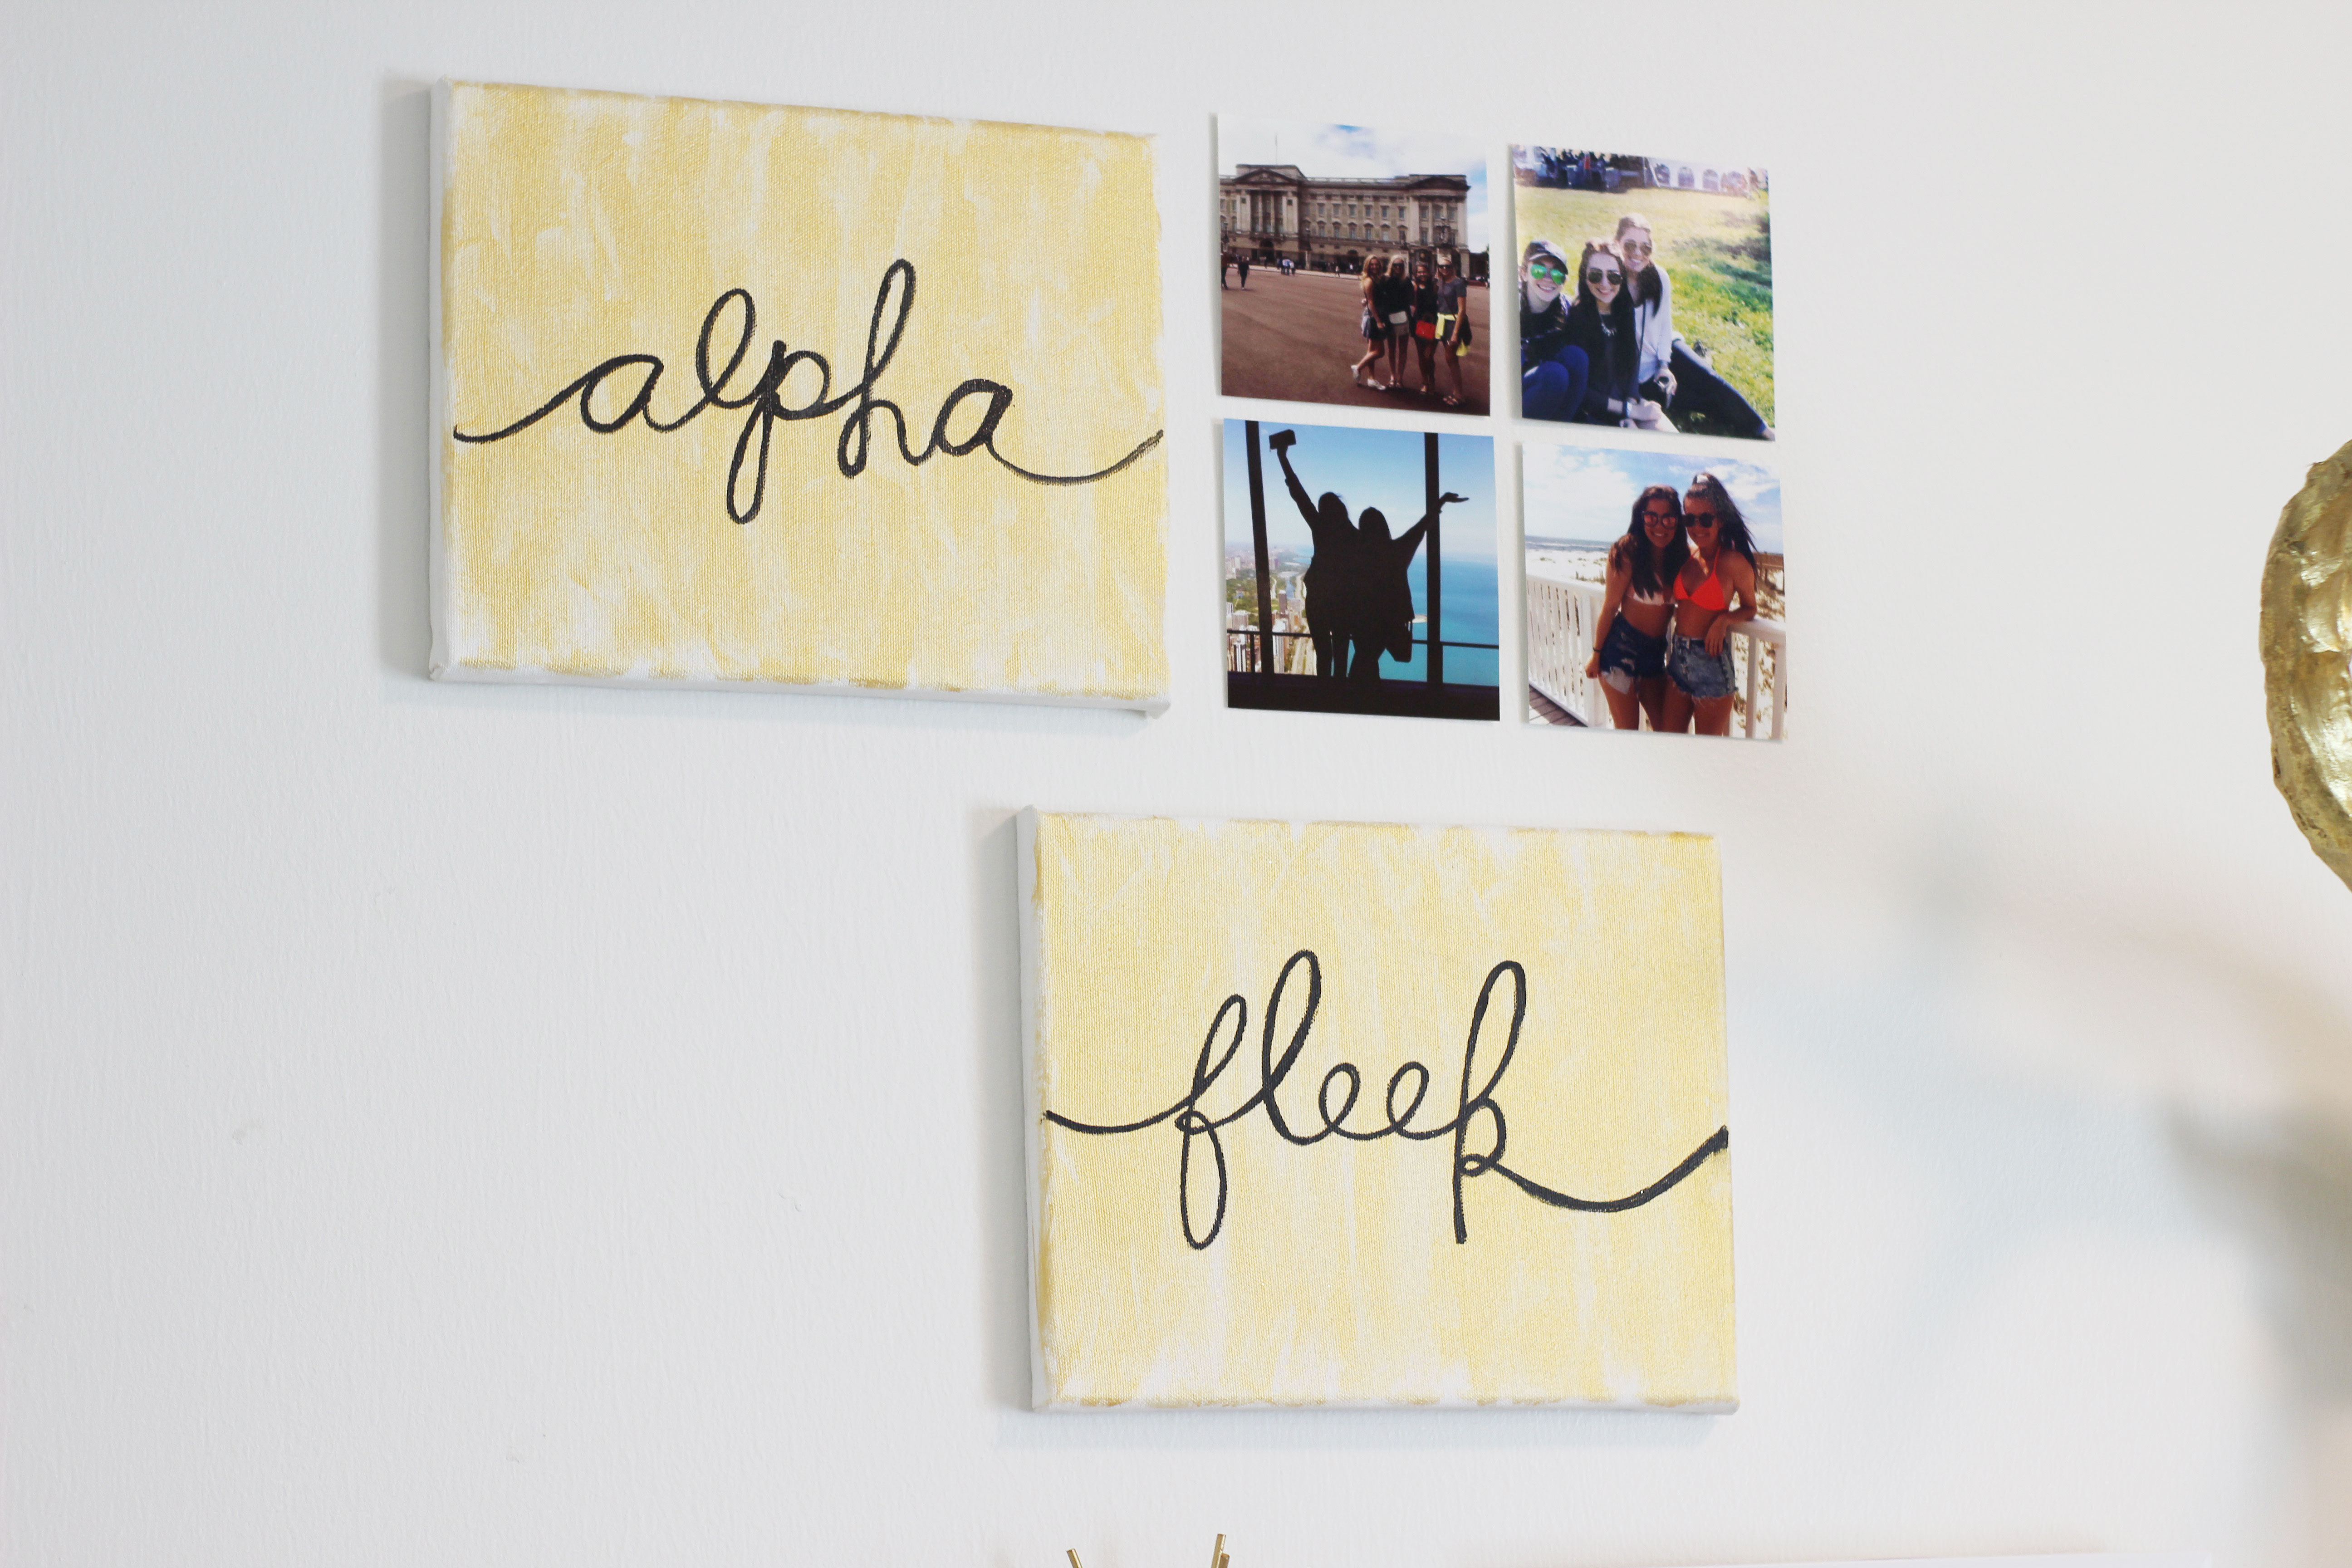
I knew I wanted to include canvases as well in the baskets, so I made two. The first was a plain white canvas with the saying “let it be — Alpha Phi.” Again, I free-handed the “let it be” and I typed up “Alpha Phi” in one of my favorite fonts (download it here) to trace onto the canvas with a sharpie. Canvas number two was based on a pin from Pinterest of a gold ivy leaf print with our public motto “union hand in hand.” I mimicked that font onto a plain black canvas with some white acrylic paint (I totally free-handed it and just went with it).

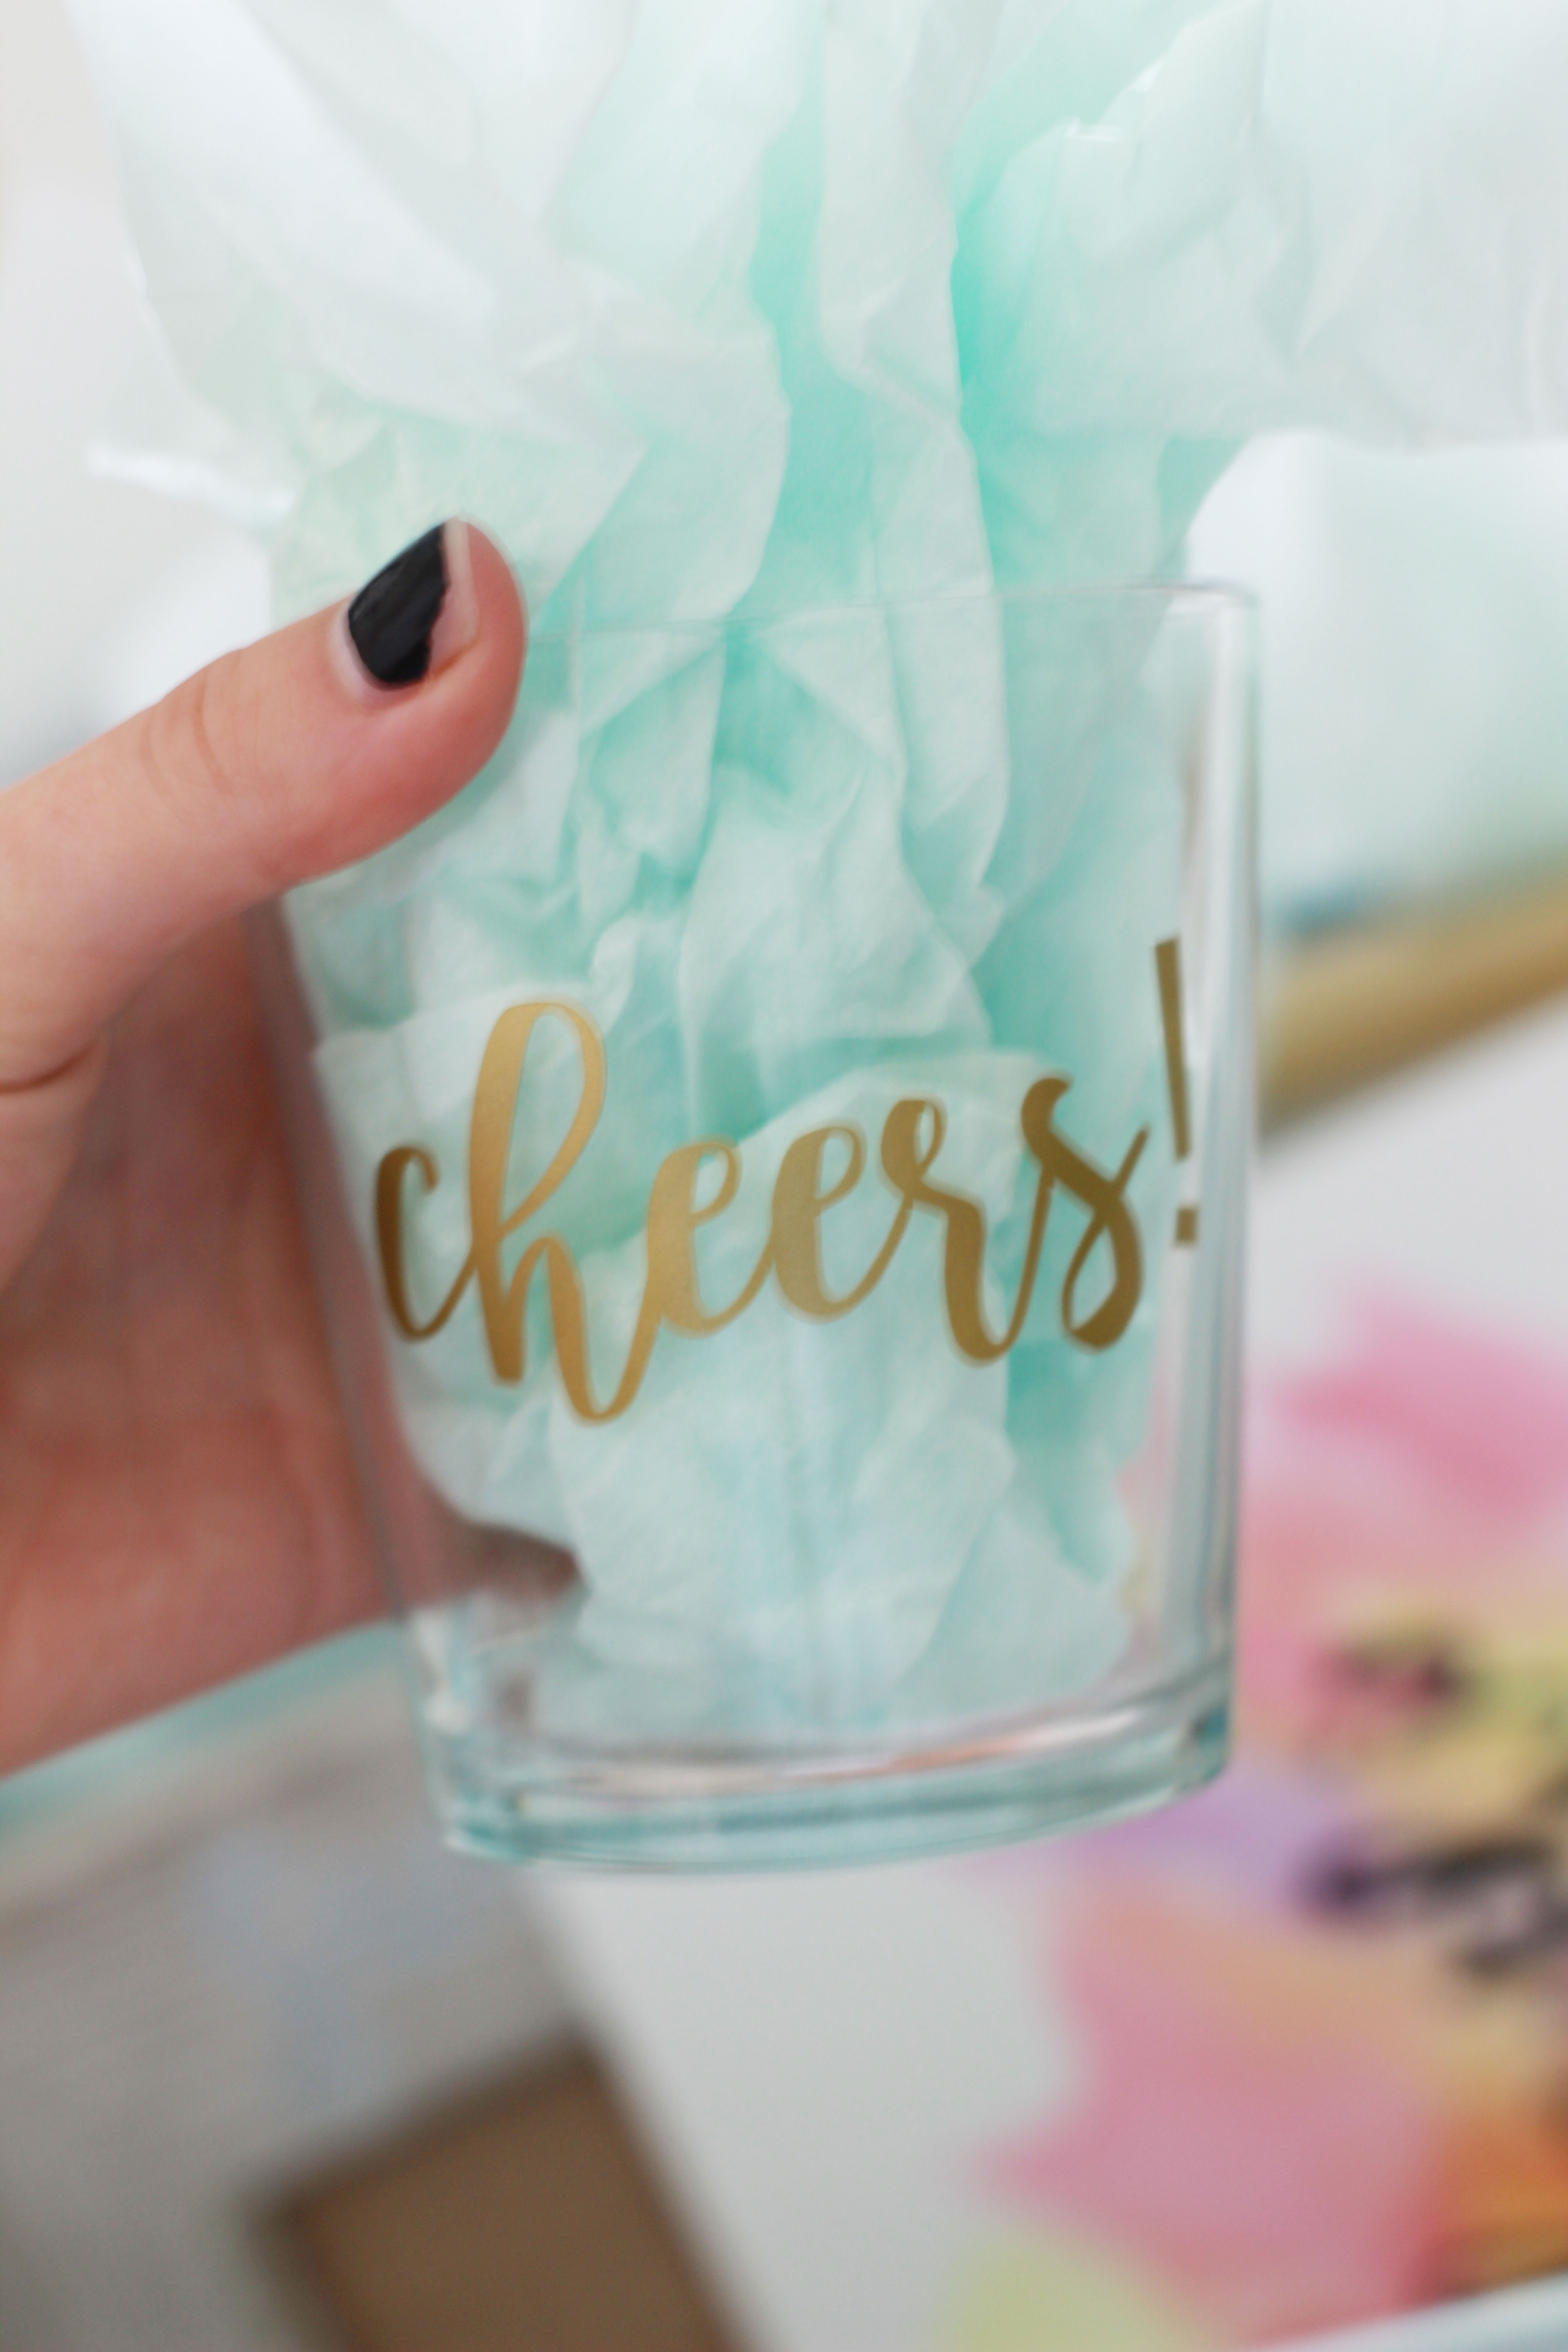
For kicks, I made some tumblers with a gold “cheers!” sticker to add the basket as well.

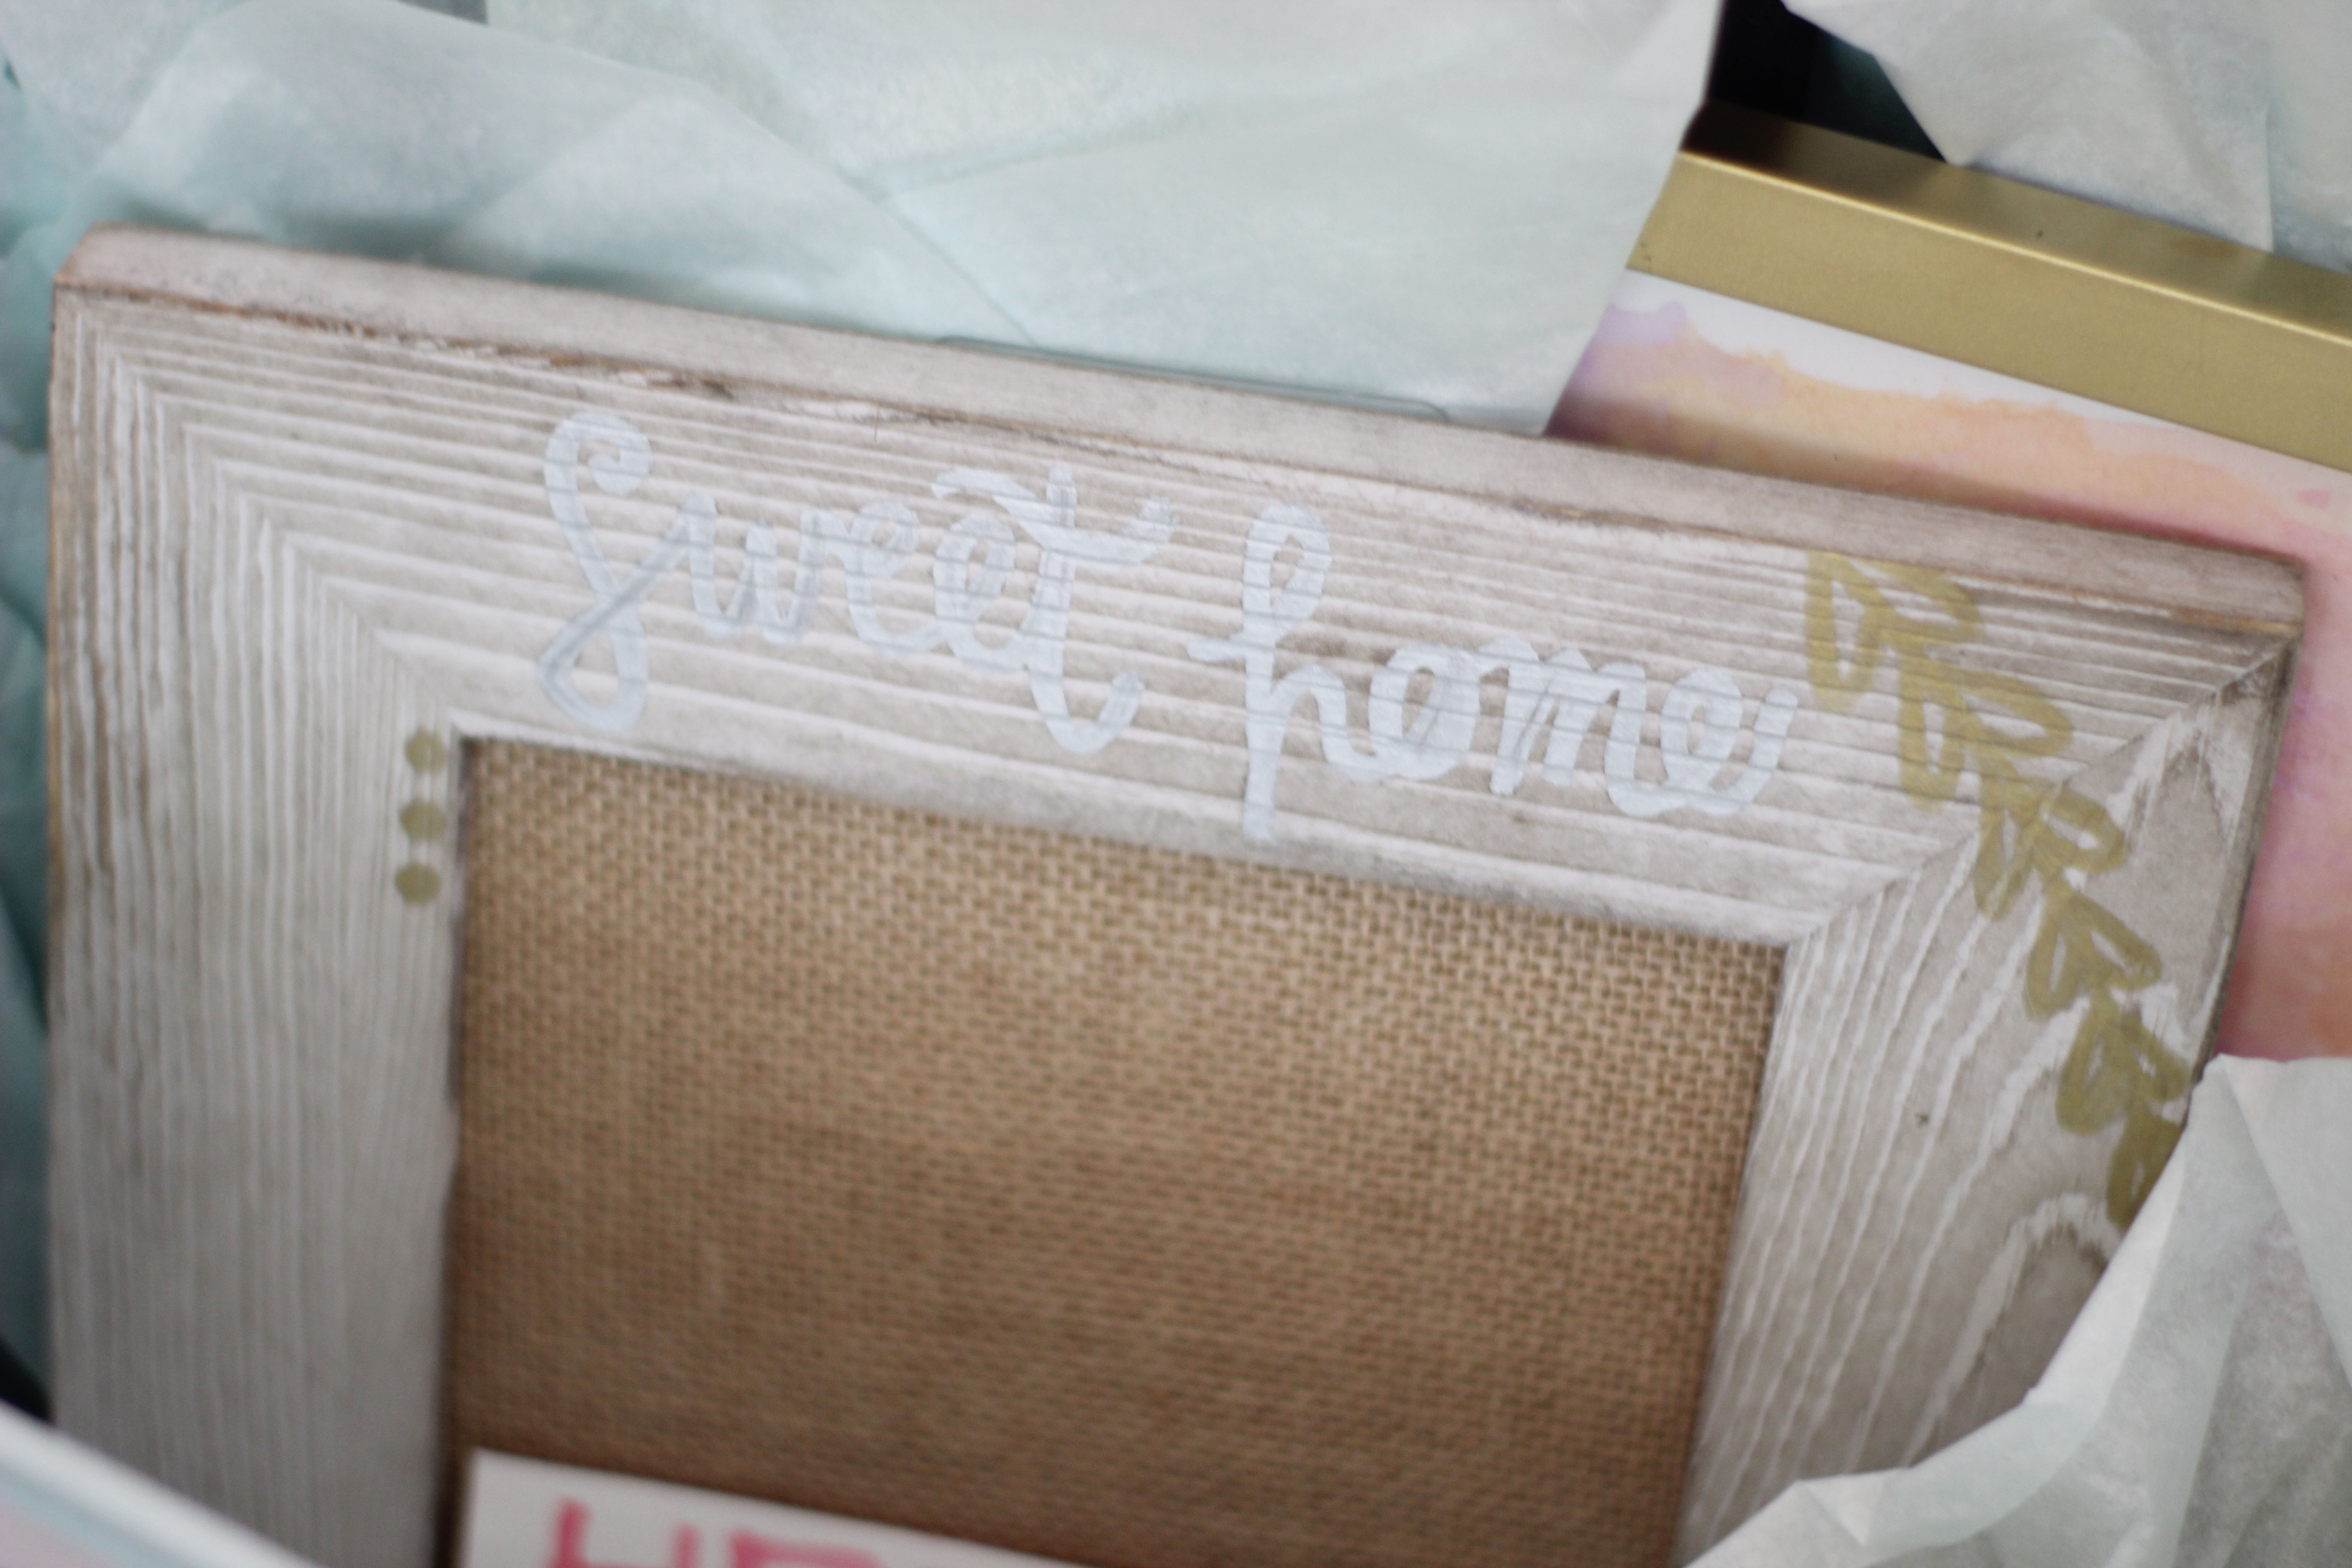
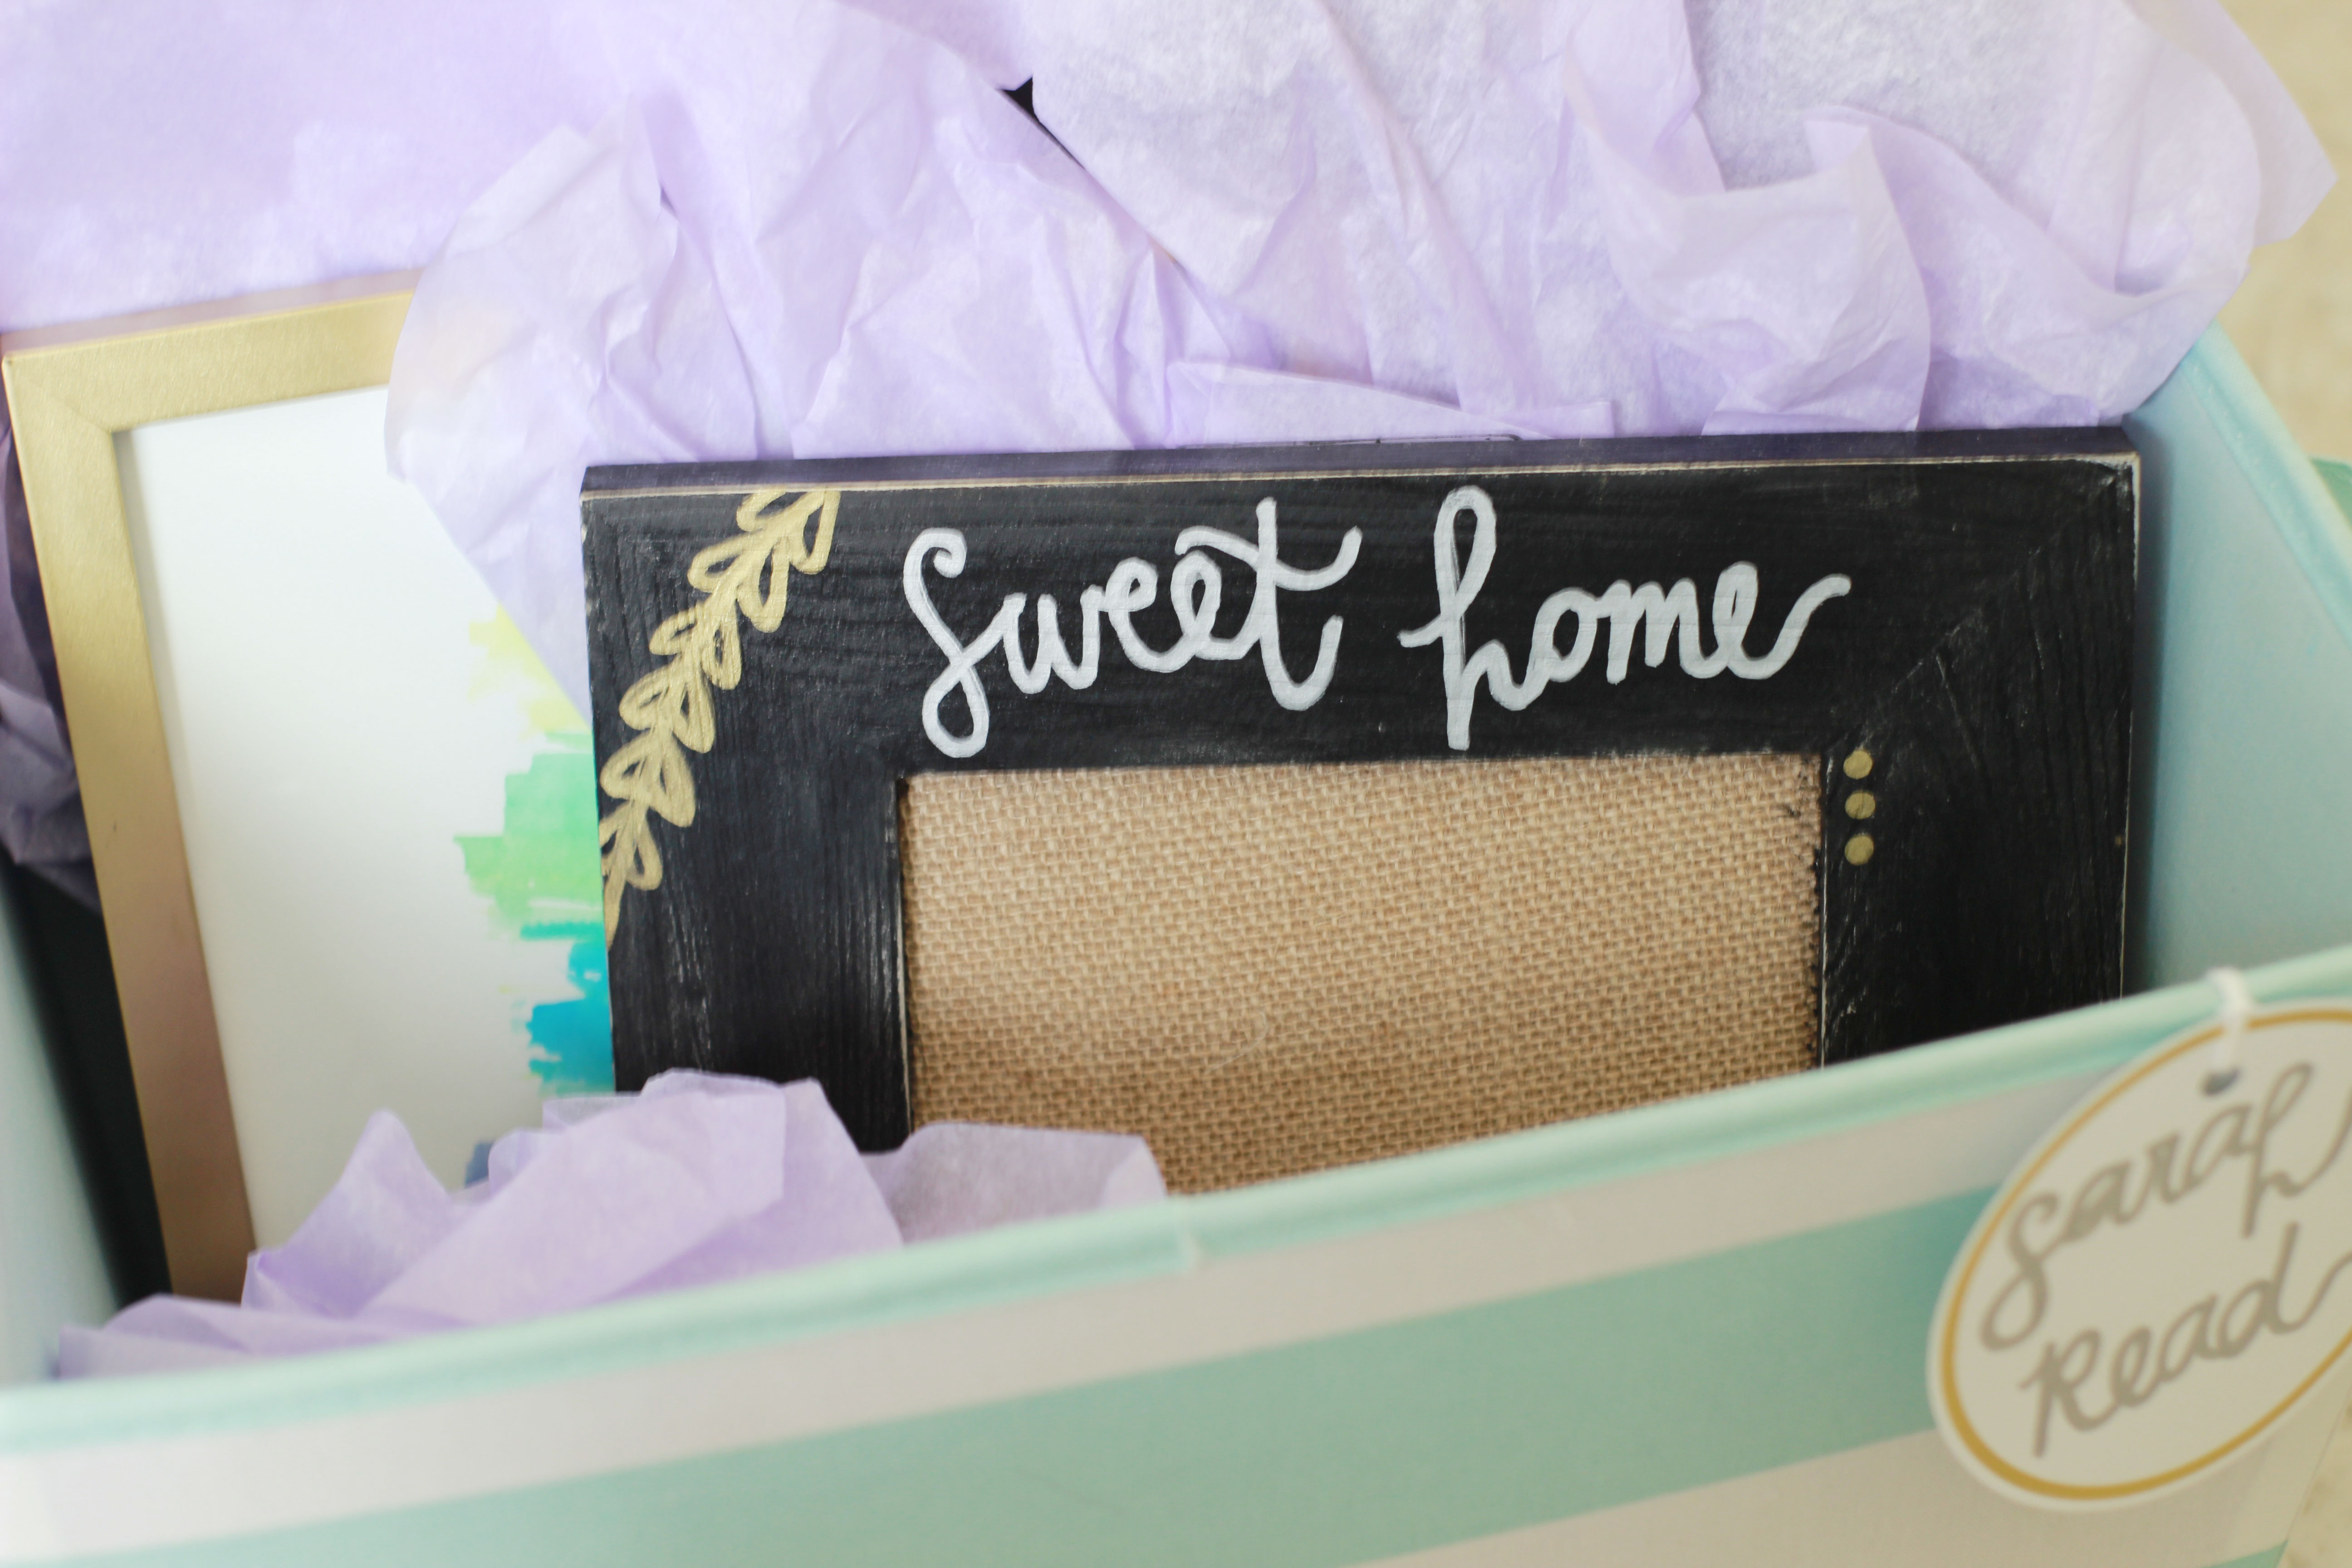
Rounding out this basket was a simple hanging mini bulletin board. I painted one black with some acrylic paint and sanded it down to look distressed and the other I left its original beige-ish color. With metallic paint pens, I wrote “sweet home Alpha Phi” and added some ivy-like branches to the corners. They turned out so cute, and were easily one of my favorite pieces.

DAY TWO

The second day was hand-me-down themed. I gifted some t-shirts I gained throughout the year, an Alpha Phi hat, coozies, game day pins, and each little’s favorite candy. All around an extremely simple day.

DAY THREE

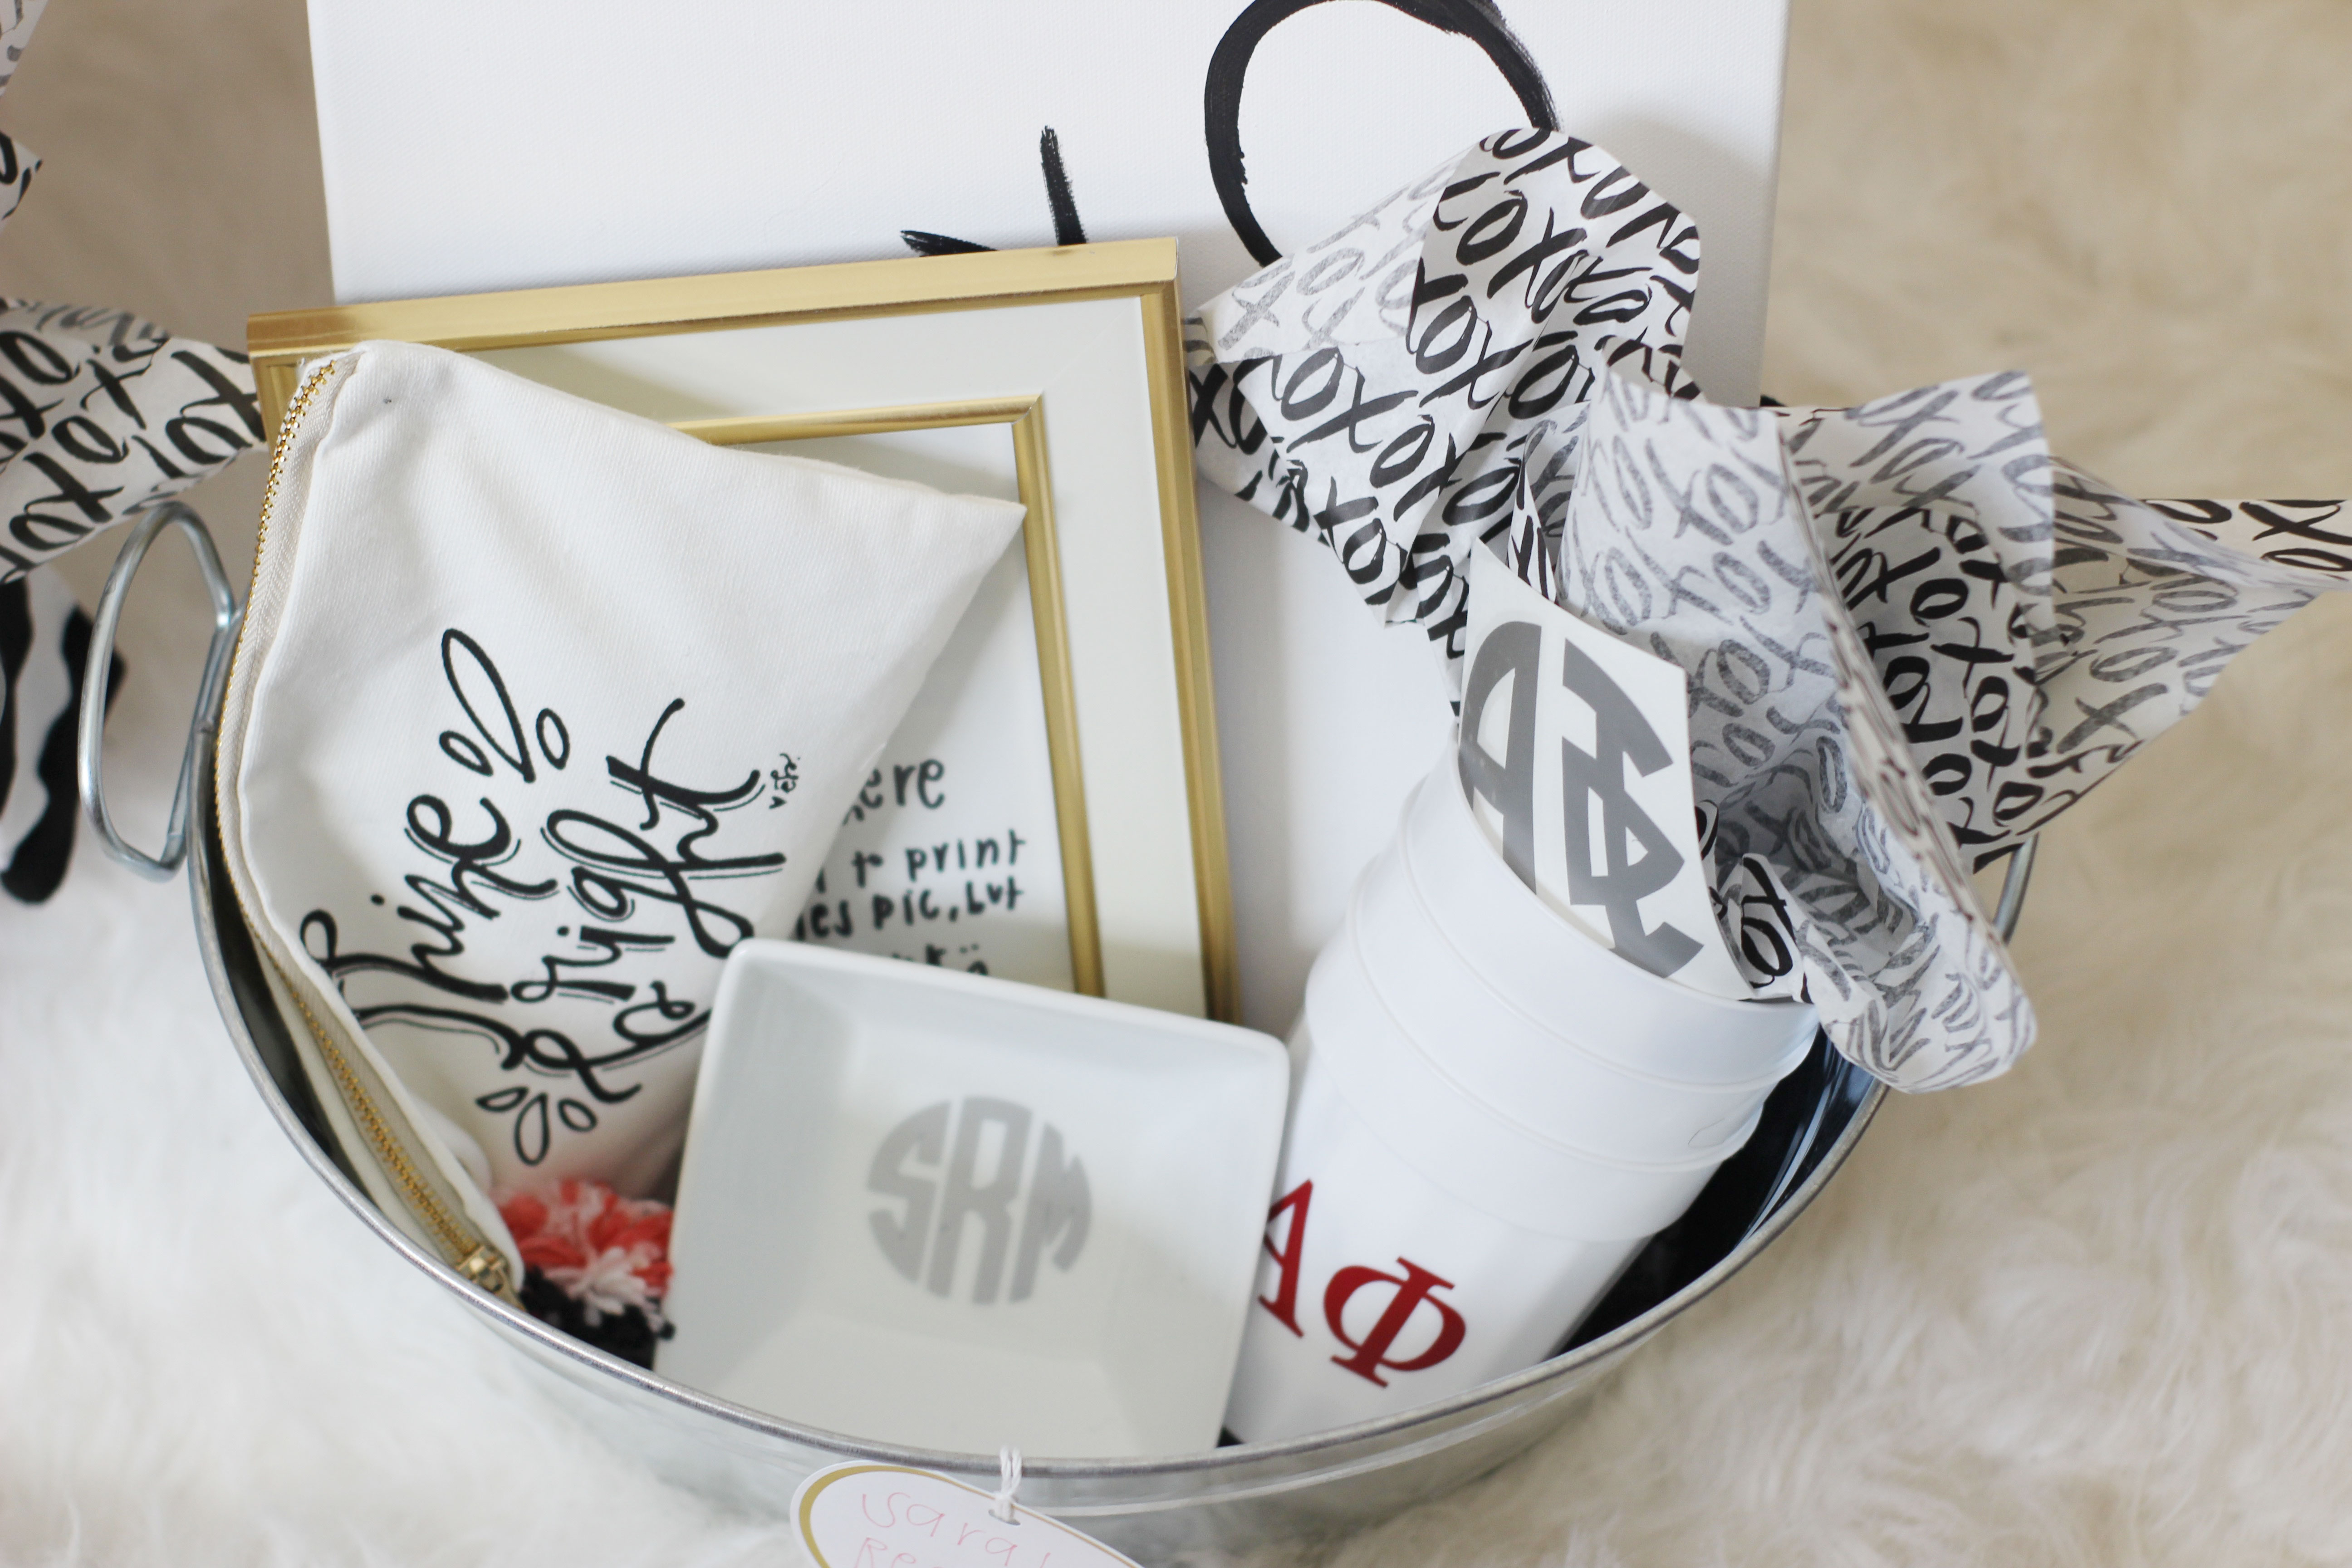
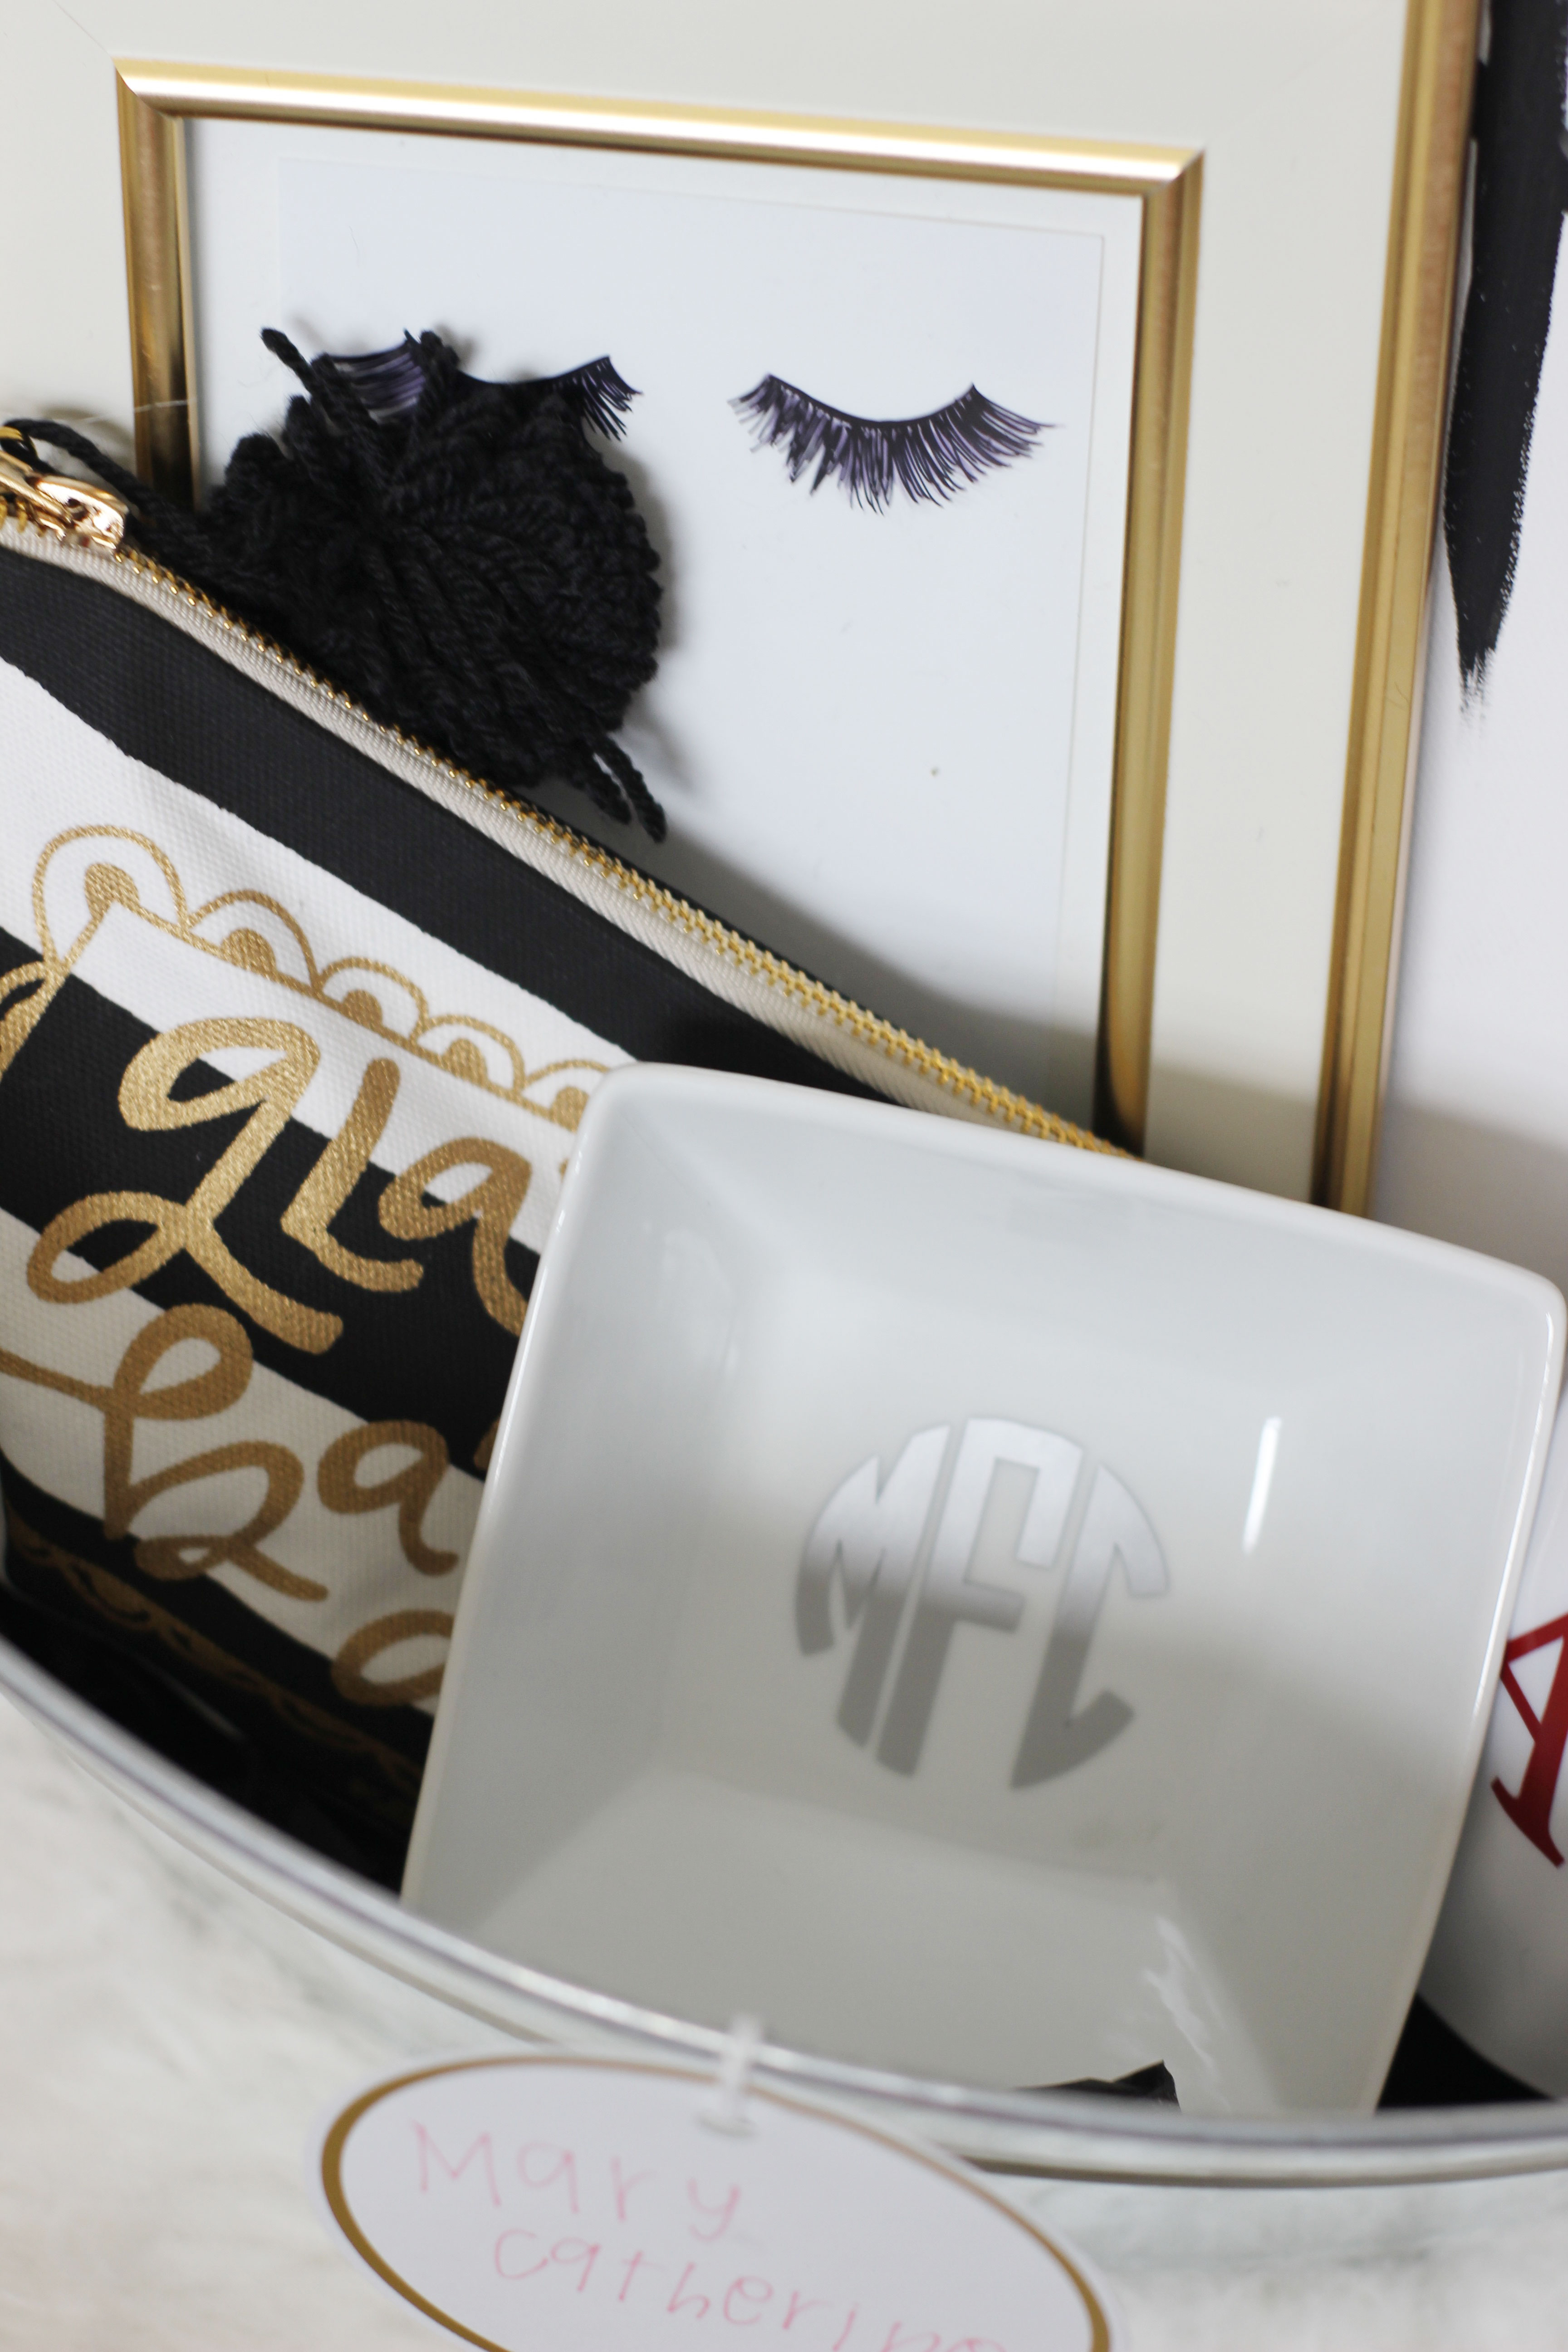
My last and final day of big little week was ivy themed (aka anything Alpha Phi). I themed my baskets black and white with some pops of red. At Hobby Lobby, I scooped up these amazing metal bins which inspired the days theme. I made a square canvas with “xoxo” on it (freehand) and that anchored the basket.

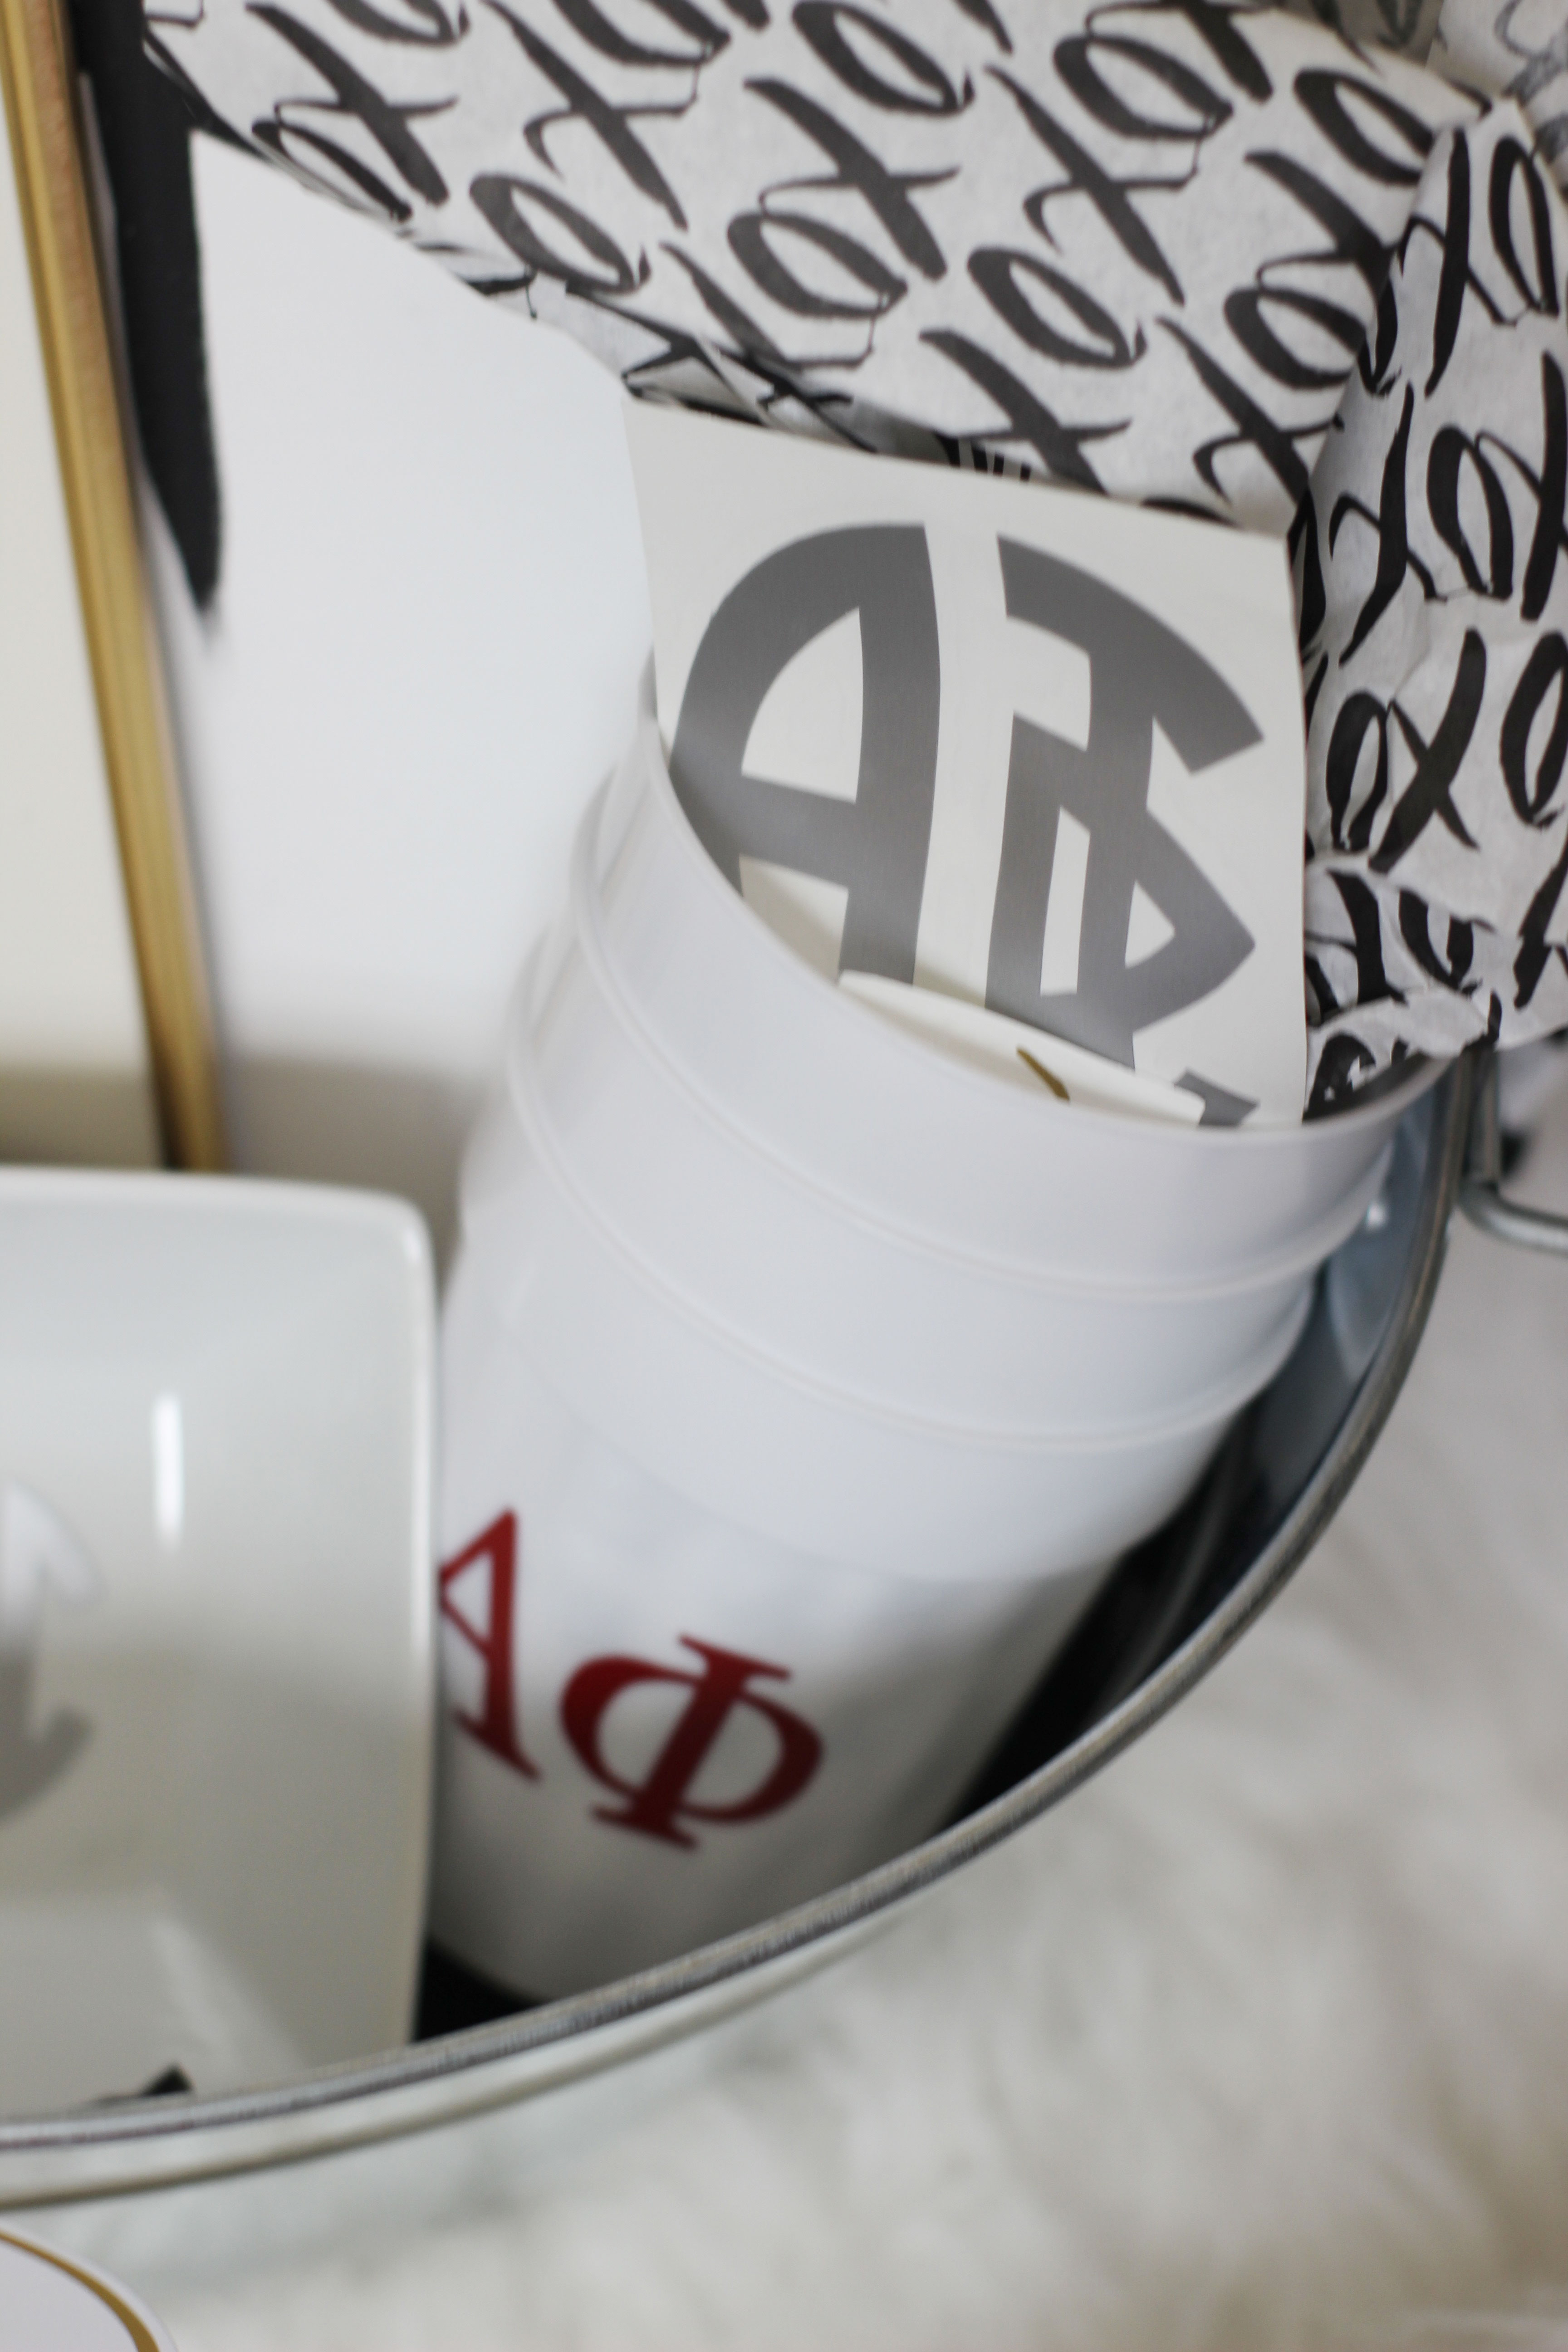
Square jewelry bowls with their initials, as well as a set of stadium cups with ‘Alpha Phi,’ ‘envy the ivy,’ and ‘a phi’ were made super simple by my Silhouette Cameo machine. I made some stickers as well with my Silhouette Cameo — one in a script font and one in a greek font.

I found some gold and white frames at Wal-Mart and put a super girly eyelash print in them. A little black and white makeup bag finished off the basket!

SHOPPING LIST

big-little-shopping-list

Big little shopping

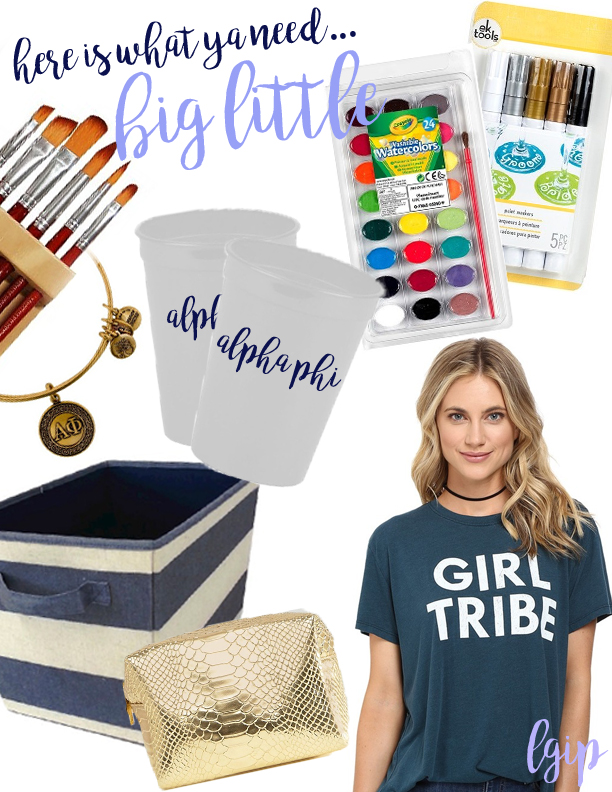
Do y’all have big little week coming up in your chapter? I want to hear what you’re making (or have made) for your littles!

madison

DIY gallery wall to jazz up any space

Posted in Lifestyle
on 09/07/2016

IMG_8921-editedIMG_8907-editedIMG_8917-edited IMG_8925-editedIMG_8922-editedIMG_8920-edited

Happy hump day! I’m sending well wishes to y’all, considering my week has already been long and it’s only Wednesday. Juggling school and sorority has me stressin! In an attempt to take a break from all the madness, I wanted to share a fun DIY with y’all! In my last post, y’all saw a picture of one of the DIY gallery walls in my room this year. Here’s how to create your own gallery wall on a budget!

If you have been alive for the past 5 years, you know gallery walls are all the rage. I could scroll infinitely on Pinterest through pictures of gallery walls, costing anywhere from $20-$500. As a college student, I strive to ball on a budget, hence this tutorial for those of you who want to jazz up your room without spending a lot of money!

g a l l e r y   w a l l   o n e

 First step is to start off with a statement piece. For my room, it was the golden deer head. After hanging that up first, we could get a feel for the arrangement of the two sides. Catherine and I had started off with some canvases that we knew we wanted to hang diagonally by each other (they spell out “alpha fleek”). We pretty much hung all of the big items first – the “alpha fleek” canvases, the abstract canvas, the arrowhead, the pineapple and the starbursts. Pro tip: draw out how you want to arrange the gallery wall first, lay out all of your pieces on the floor, and then you can hang.

Secondly, we hung up some square photos to add some color and fill in the gaps. The square prints are from Walgreens. They are a bit more pricey than 4×6 prints, but I love the uniformity that goes with them. Sticky tack (which will run you about $5) was a lifesaver! We stuck two pieces of tack to the back of each photo and they’re still up, two weeks later!

Lastly I would just check to make sure you’ve achieved what you wanted. We wanted something a little busy, but with lots of texture and keeping with our color scheme. I think we achieved it on our first wall, what do y’all say?

g a l l e r y  w a l l  t w o

For the wall above my bed, we wanted to display some photos. After seeing the square pictures, I quickly came up with this grid-looking idea. There really was no step by step process I took to create this wall, but I’ll give y’all somewhat of a run down of how this went!

I started on one side (at the bottom picture) and worked my way over. Varying the amount of pictures across and adding quotes we printed from Pinterest and Tumblr mixed the composition up a bit. Basically just eye ball it out. I didn’t want to make a perfect square of photos and quotes, so I made sure to scatter the mix of the two.

To top it off, I added this string of tassels, which I handmade for my dorm last year. It tied the wall together and added a pop color against the white wall and quotes on white paper.

Have y’all made gallery walls for your room? If so, how did you do it?

madison