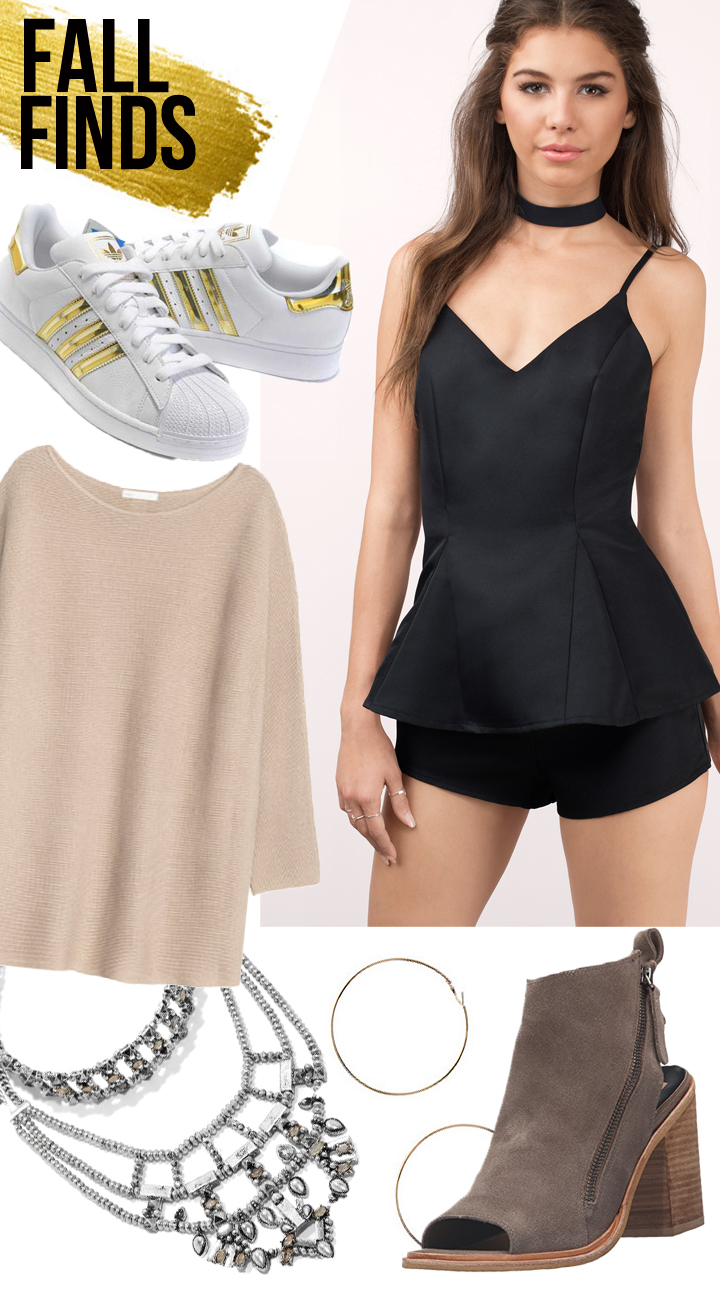
Chokers are currently my go-to accessory for any outfit. I love the simplicity of them + the edgy vibe they have. Prices can range for chokers, depending on what you’re getting. Making chokers is such a fun little DIY + not to mention — it’s super cheap! Let’s get into it, y’all….

You’ll need…
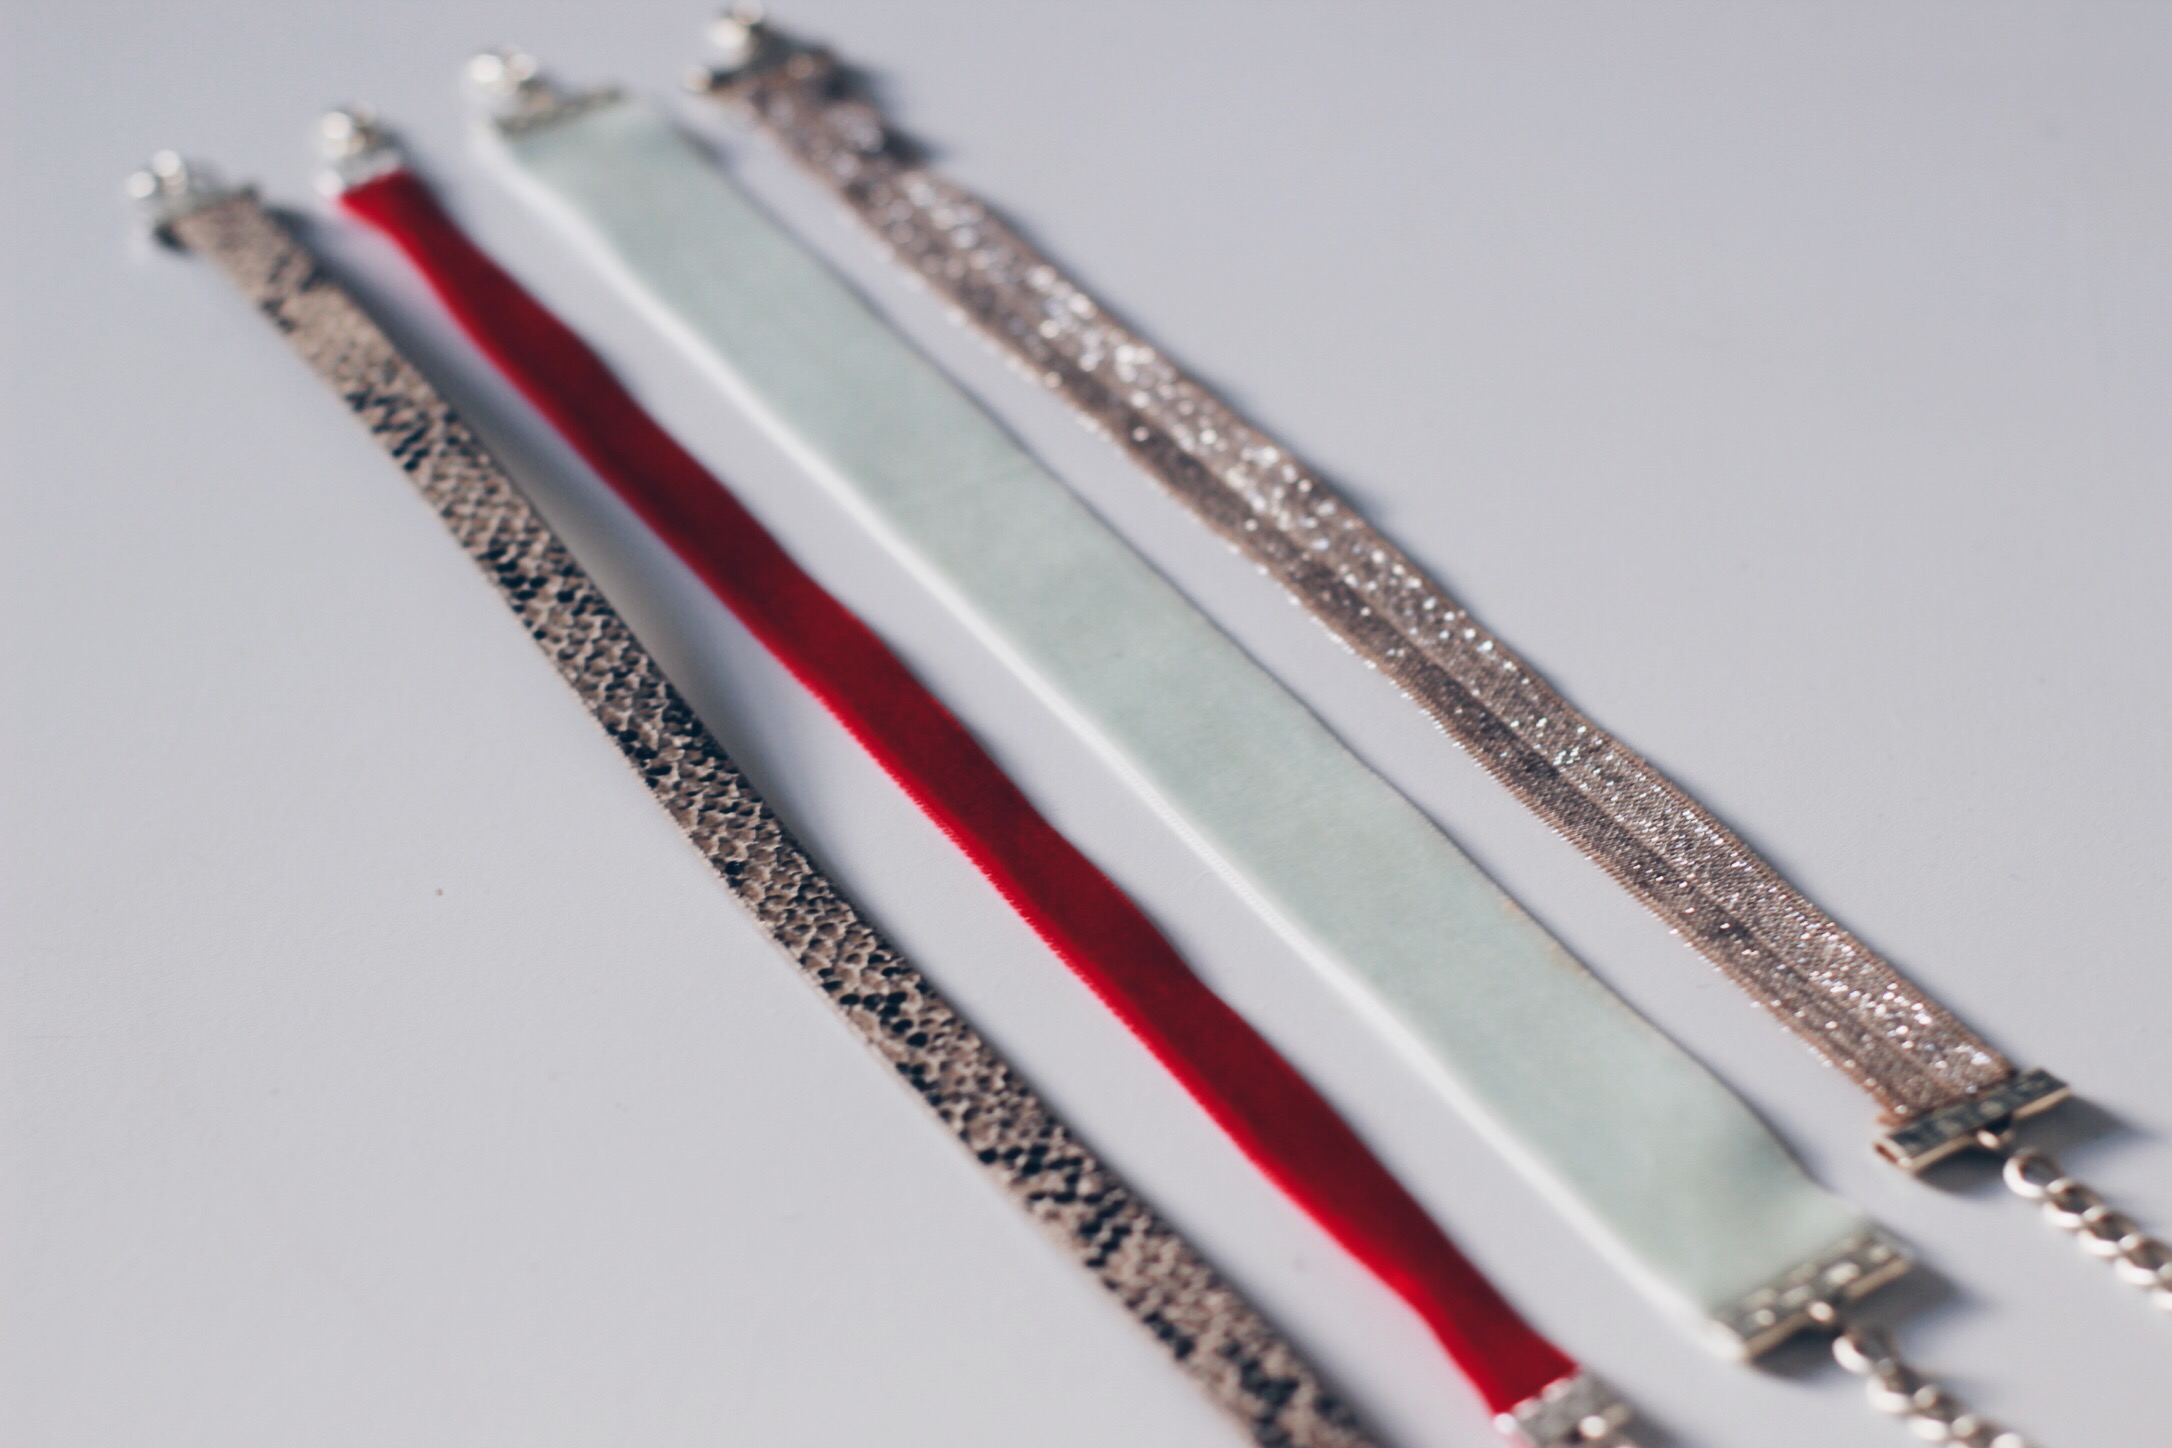
Ribbon (pick whatever your heart desires — velvet, sparkly, faux snakeskin, lace (the options are endless))
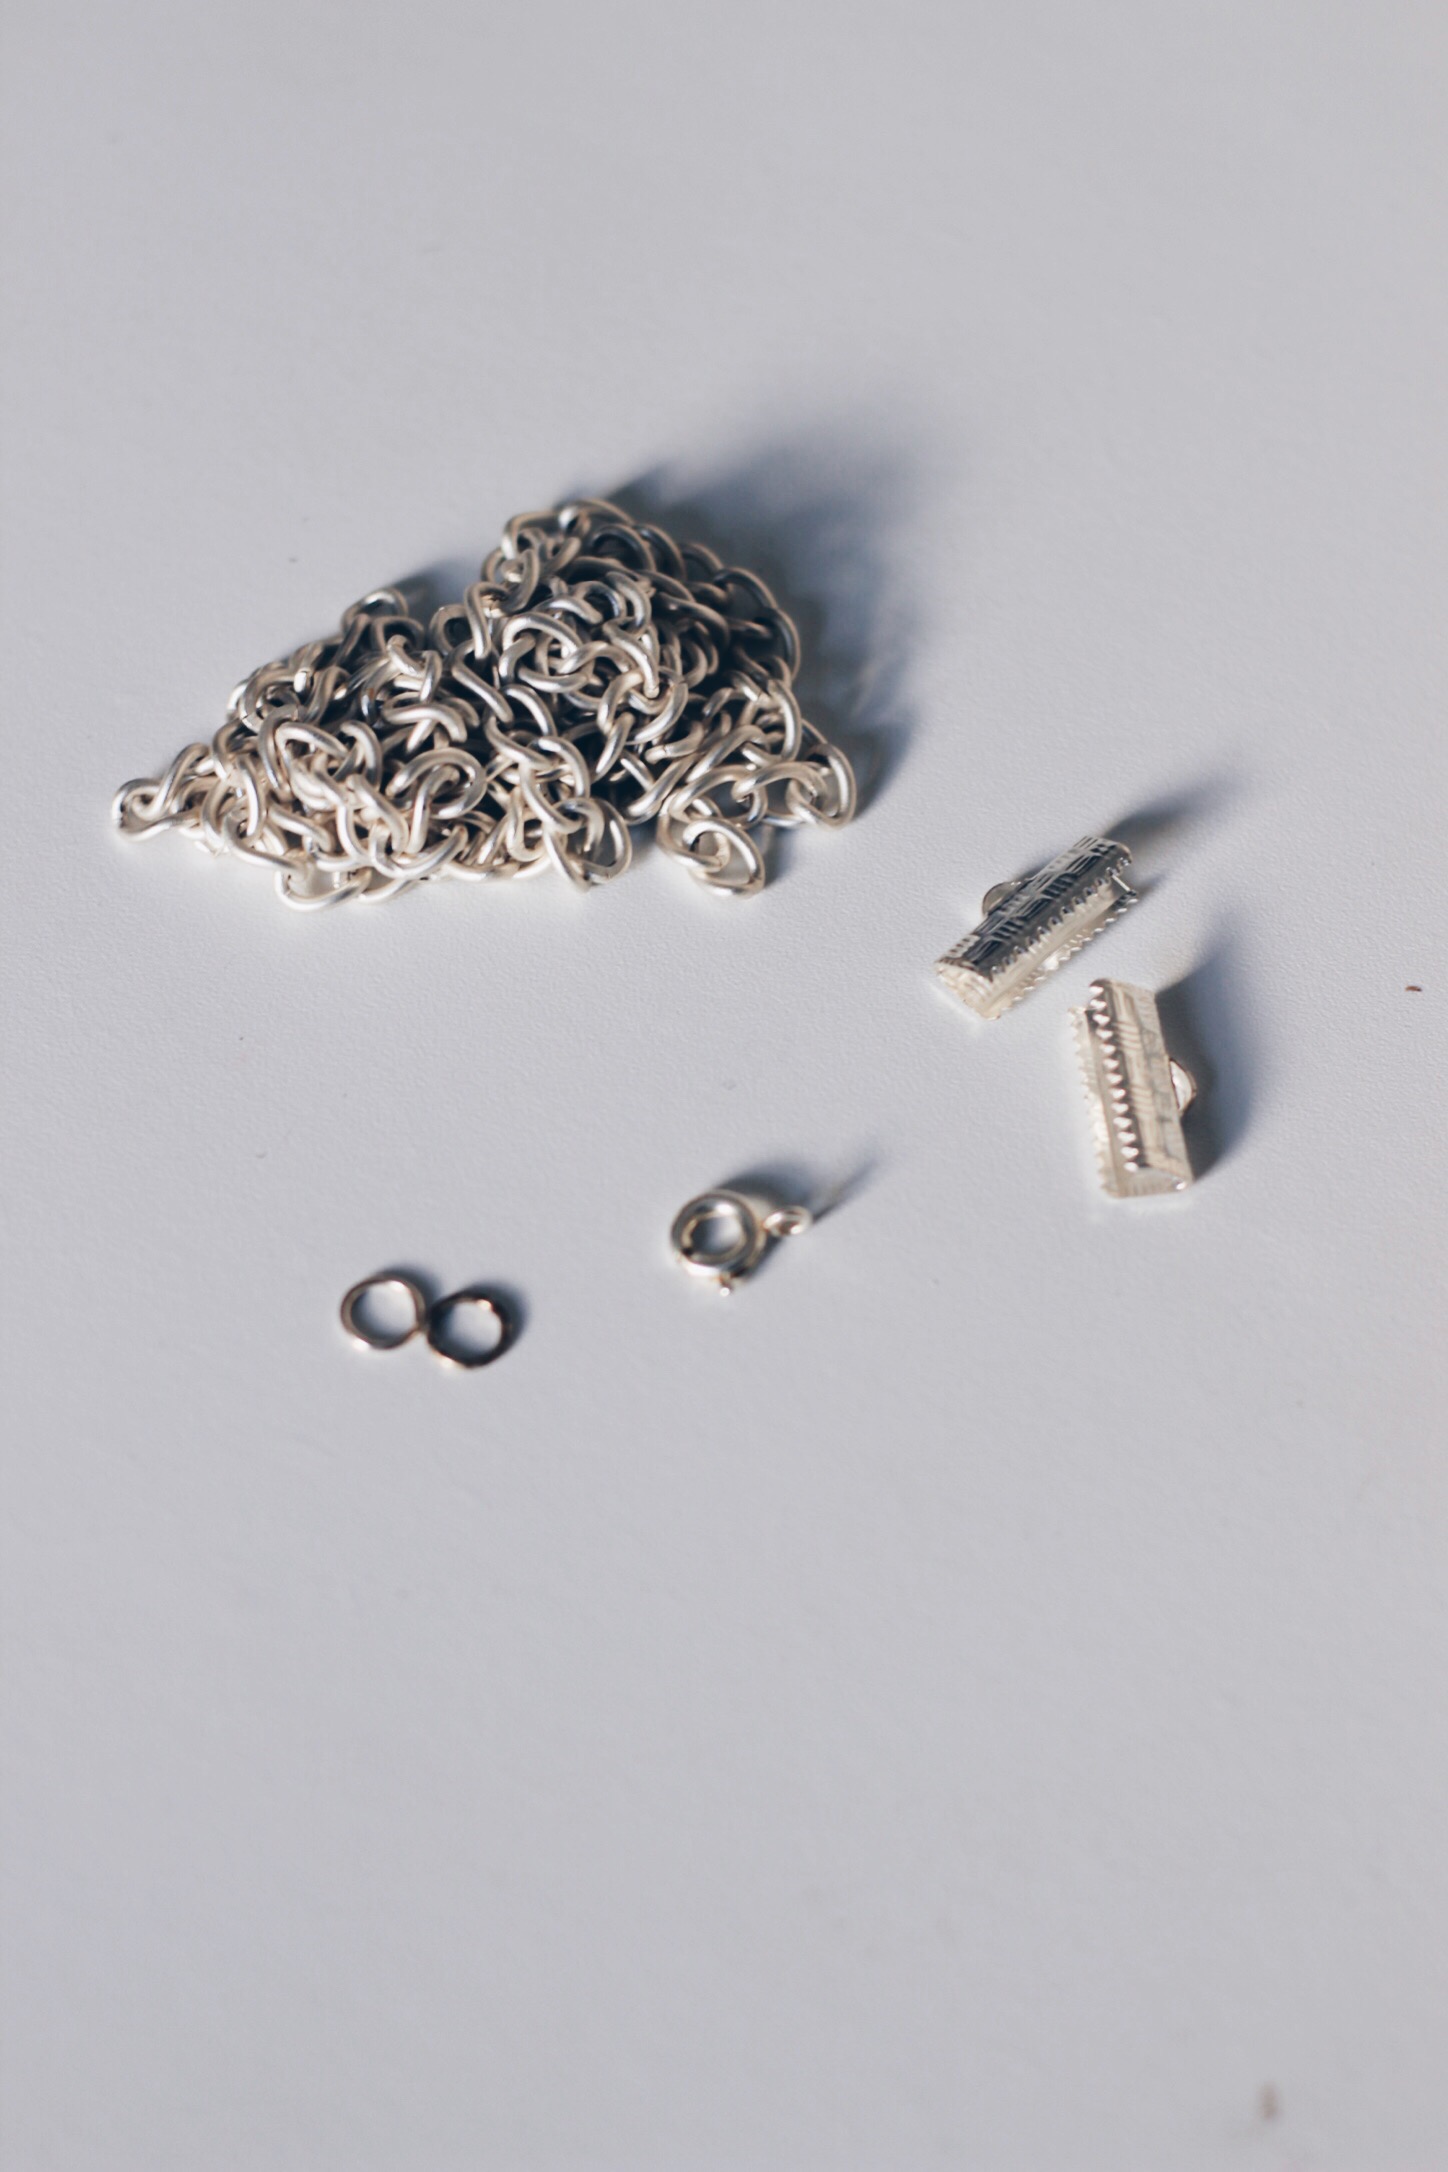
A few inches of chain (gold or silver)
Jump rings (gold or silver to match your chain)
Ribbon crimps (to match chain and jump rings)
Clasps (to match all of the above)
Scissors
Pliers
The easiest DIY you’ll ever do…
Alright, alright, alright — here we go! First step is to take your ribbon and cut it to size for your neck. You’ll want to make it about a 1/2 inch shorter so you can hook it on the chain and not have it be too big. Take your ribbon crimps, put one on each side of the ribbon and use your pliers to close it onto your ribbon. With jump rings, take your chain and attach it to one ribbon crimp + then attach your clasp to the other (honestly this is the hardest part). *cue the oohs and aaahhhs* You’re done!
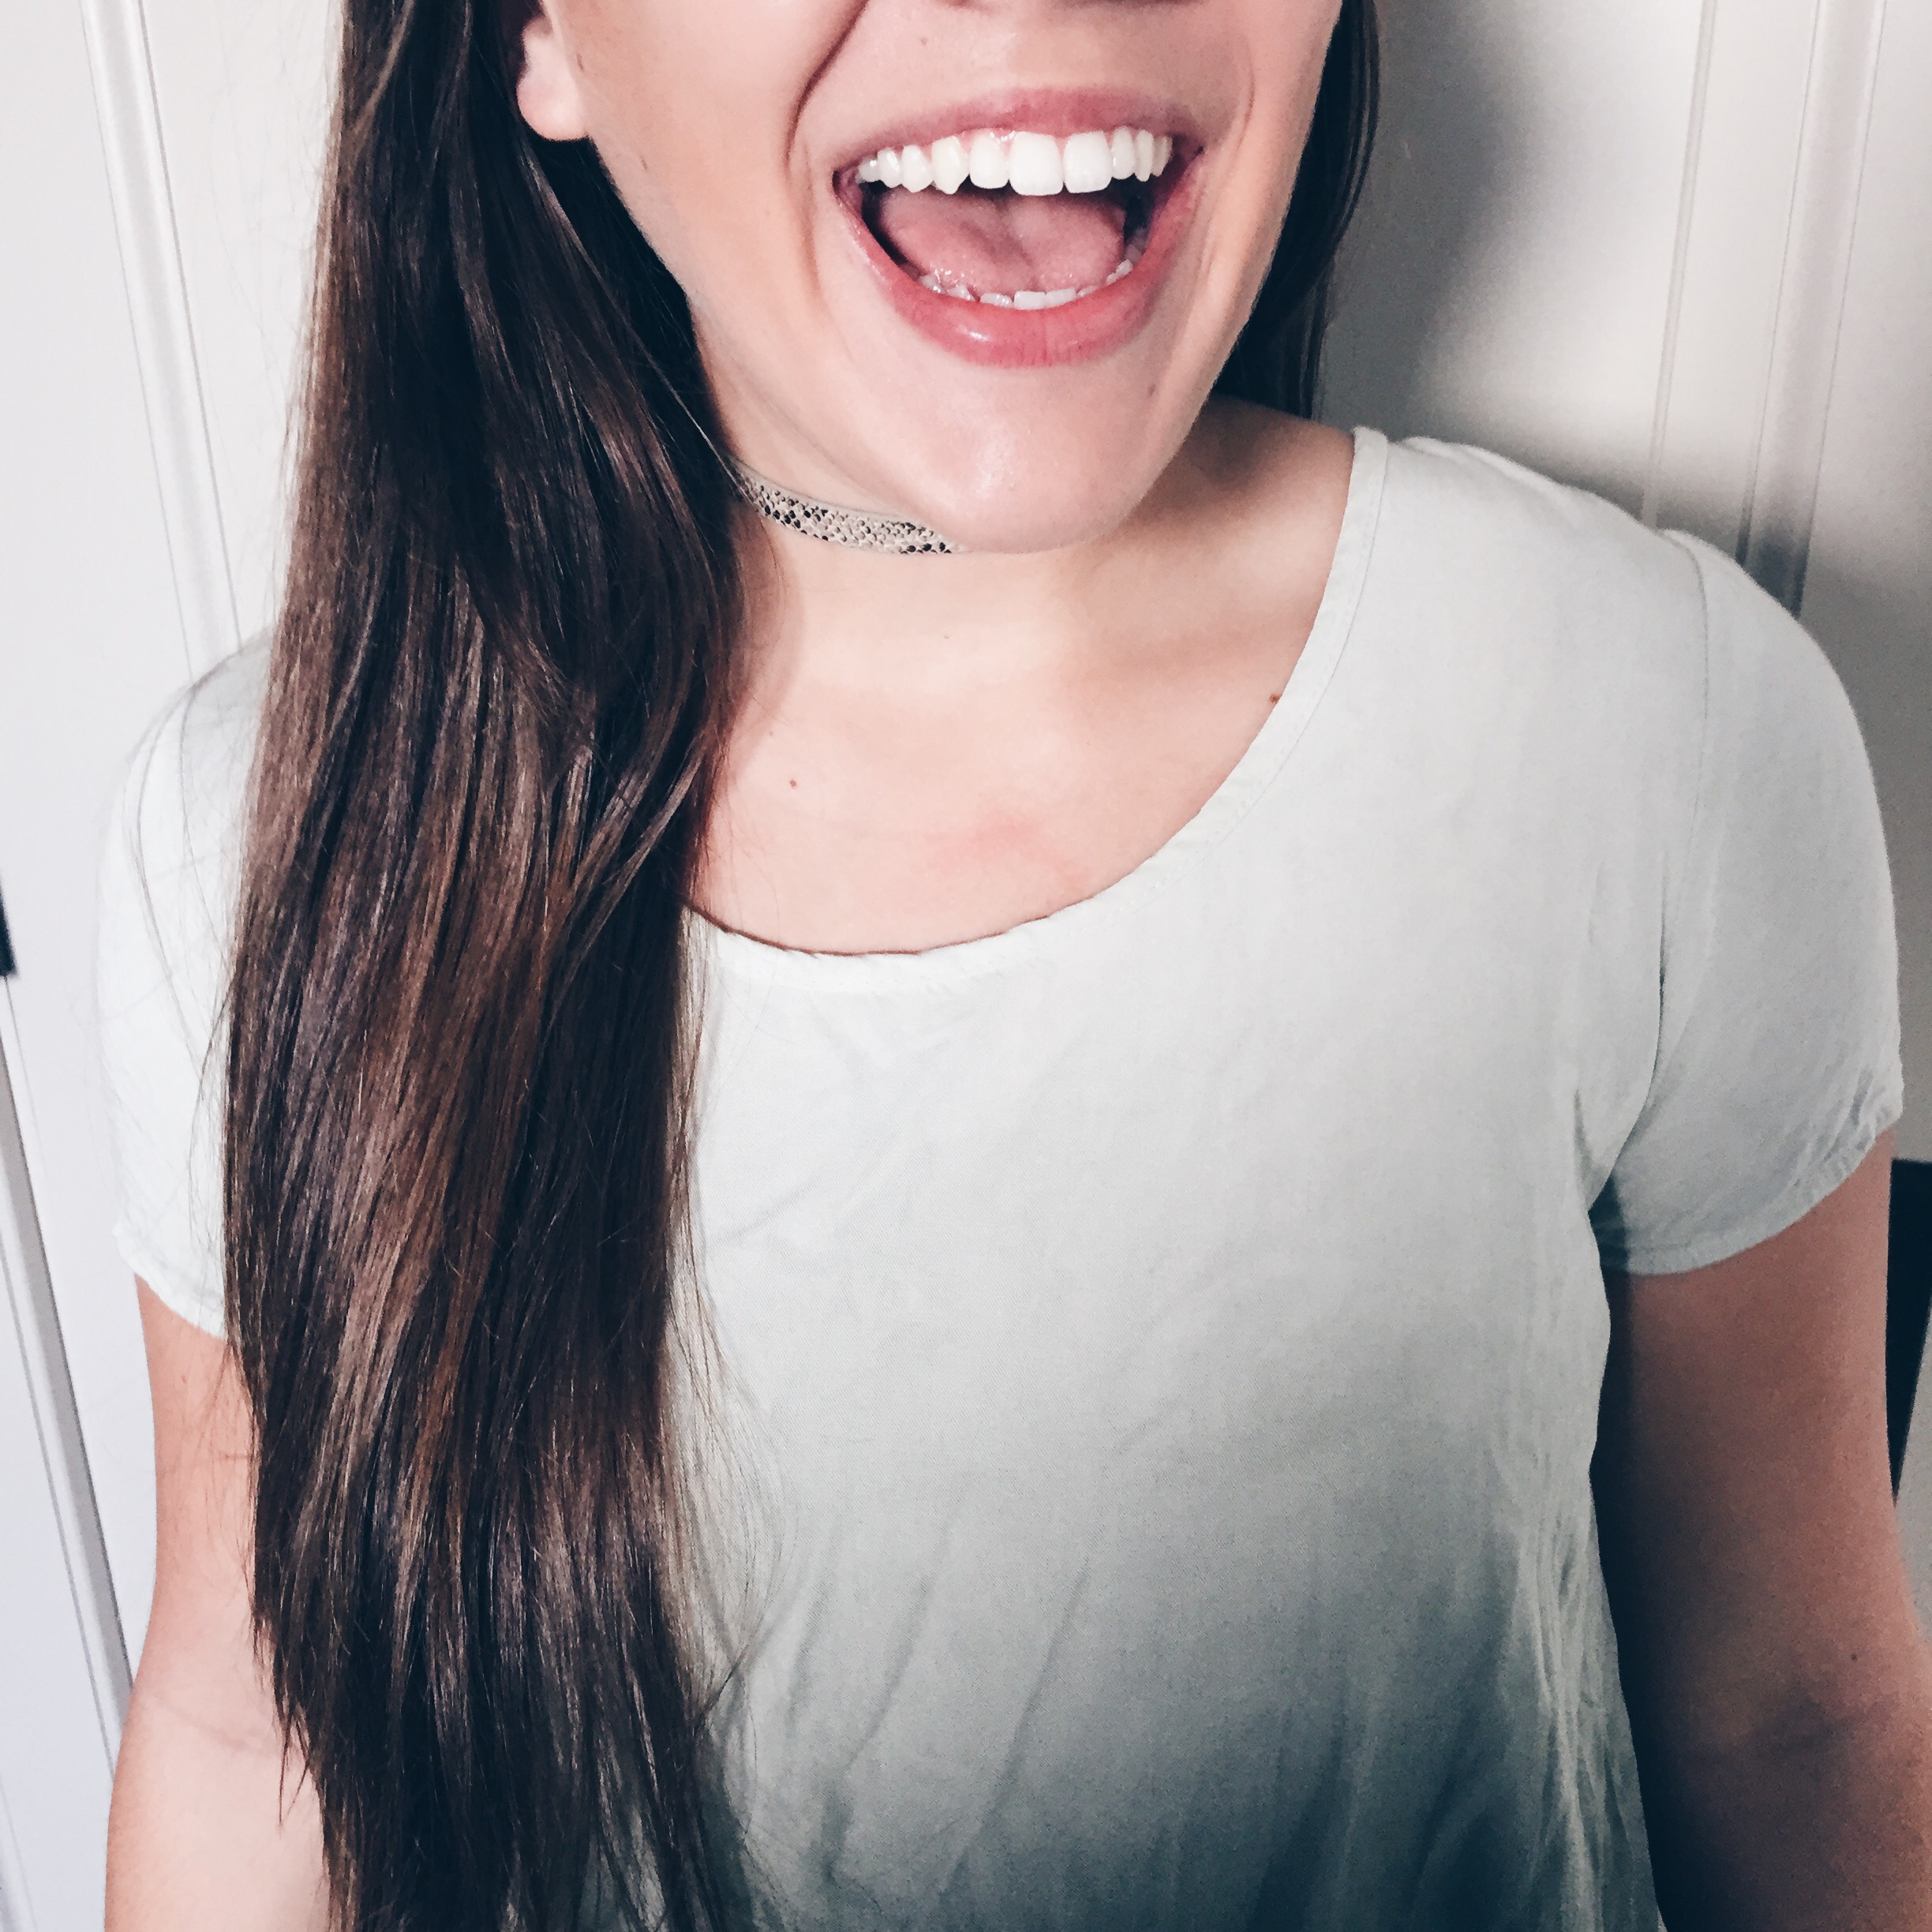
See? I told y’all this is the easiest DIY you’ll ever do. Now go out there and wear that choker with some pride! When people ask you where you got it, you can proudly tell them “I made this with my own two hands” *hair flip*
If any of y’all try this out, please send me pictures of your finished product! I would love to see it!
Until next time….